
Resonant frequency of your car – How to measure
Vehicle resonant frequency – How to find it ?
Knowing the resonant frequency of your car is particularly useful in SPL and dB Drag competitions. If you know the frequency where your vehicle resonates, you can tune your enclosure accordingly to get “free dBs”. The car and speaker-port combo will start to resonate at the same time, and will create a large boost in sound pressure. Outside these types of competitions, knowing the resonant frequency of your car isn’t particularly useful. Most of the times, it’s a bad thing, as it can boost a certain range of frequencies too much, and the sound will suffer in terms of linearity. For a sound quality setup, it’s good to know it, so you can compensate for it.
Equipment used
You will need a few items to find out the resonant frequency of your car. Some you might have laying around, and some are quite specific to audio measurements, but are not that expensive.
List of the items needed :
- Laptop with ARTA software.
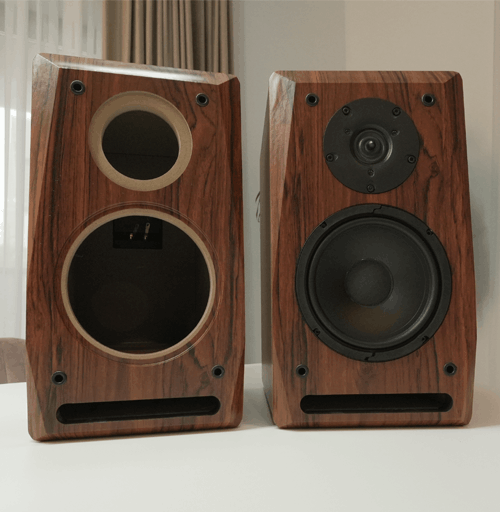
- Sealed subwoofer with very linear response (here is how I made mine).
- Measuring microphone (I used Dayton Audio EMM-6). (Amazon affiliate paid link)
- Small stand for the microphone.
- Audio interface (I used Focusrite Scarlett 2i2). (Amazon affiliate paid link)

This is all the gear that you need, considering that you already have a subwoofer setup in your car. This means that you have an amplifier that is up and running, you just have to connect the subwoofer.
Methodology
Let’s explain the theory on how we are going to go about our business. First, the equipment needs to be set up. The microphone connected to the audio interface, the interface to the laptop and the subwoofer amplifier to the audio interface. Secondly, we will connect the sealed subwoofer to the amplifier and make a nearfield measurement. This is to have an anechoic response of the subwoofer as reference.
Then, we place the microphone in front of the dash and take another measurement. After the nearfield response has been scaled accordingly, we can compare it to the response of subwoofer + car gain. The frequency which get’s the largest amount of net gain should be the resonant frequency of your car. In reality, things are even more simple. As you will see, the car resonance will appear as a large spike in response, so it’s very easy to spot, even without the nearfield response as comparison.
Introduction
Before we get to the good stuff, let’s get more familiar with what we are measuring in our example. The car under test is a BMW 5 series F10 sedan. The audio system is made by the following gear : Micro precision 3 series tweeters and 5 series midrange in the front, stock woofers under seats, stock speakers in the back, stock head unit, Audison bit ten signal processor, Audison SR 4 and SR 1dk amplifiers. The signal processor has 5 channels : 2 are for the mids and tweeters (which have a passive crossover between them), 2 are for the under seat woofers, 1 for the subwoofer. The rear speakers are left on the stock head unit.
How to design loudspeakers - video courses


Before proceeding forward please read the following articles :
Step 1 : Near-field measurement of the sealed subwoofer
You are probably tempted to say that you have already measured your woofer inside the house, or in another setup, and want to reuse that response. The frequency response will be accurate, in terms of how the shape of the graph looks like, but we need to use the exact same settings on the amplifier for the 2 measurements. If we use a near-field measurement from another setup, the comparison is not that accurate, because the magnitude will be different.
After I setup all my measuring gear, I disconnected the signal cable coming from the signal processor to the subwoofer amplifier. Then, I connected the audio interface output to the amplifier input. The amplifier gain was lowered and I fiddled with ARTA’s output volume until I got a signal sweep with no clipping. From the near-field measurement resulted the following response :

Go ahead and save this response because we will come back to it later. We don’t have the necessary information yet, to completely scale the response.
Step 2 : Measure the subwoofer with car gain
Leave the subwoofer connected to the amplifier and place your microphone on top of the dash.

Before we do the sweep, we first have to decide on the woofer’s orientation. Does it really make any difference on how I place the subwoofer? We will see that it does make a difference and I’ll explain why soon enough.
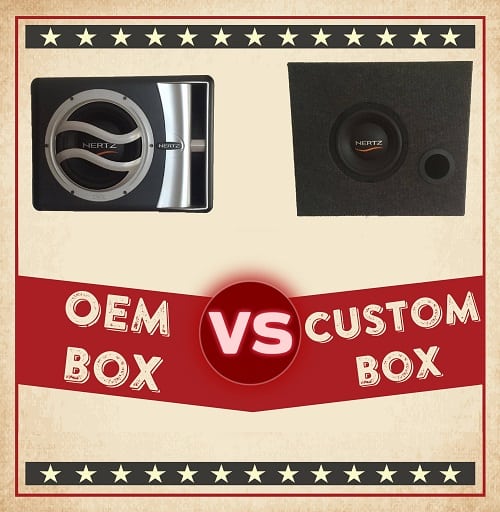
There are 4 main possibilities on how to place your subwoofer (considering it’s a box enclosure inside the trunk) :
- With the speaker facing the front of the car.
- Point it to the back of the car (facing the trunk door).
- Facing the sides (left and right).
Let’s directly compare the scenarios where the speaker is facing the front, versus the back. When it faces the sides, it’s somewhere in between, so I won’t include them into the comparison, to keep the chart clean.

Just by looking at this chart, I’m guessing you can already tell where the resonant frequency is. But let’s compare the 2 responses. When the speaker is facing the back there is an additional 1.4 dB in sound output, compared to when the speaker is facing the front. Why is that ? The frequency we are interested in is at 34 Hz, where the large peak is. The wavelength for 34 Hz is about 10 meters.
Quick explanation
If the distance from the speaker to the object that resonates is a multiplier of the wavelength + one half of wavelength, for that particular frequency, the object will resonate at maximum potential.
For our particular example :
- The frequency of interest in 34 Hz.
- Wavelength is 10 m.
- Half of wavelength is 5 m.
- The points of maximum resonance is at 5 m, 15 m, 25 m, etc
- Imagine a string fixed at both ends. It will vibrate more violently if pinched from the middle, than if pinched from closer to the sides.
To reach this point (which is called an anti-node, by the way) the subwoofer needs to placed, theoretically, outside the car. However, if we place the speaker as close to the truck door as possible, we are effectively getting closer to the 5 meter mark. In other words, we are “pinching the string” closer to the middle. For this reason we get a small boost of 1.4 dB. If the speaker is facing the trunk door it also radiates into a smaller space, which aids even further for an increased output.
Step 3 : Scale the near-field response
Now that we figured out that we will place the subwoofer with the speaker facing the back, we can measure the distance between the microphone and the speaker.
Follow these steps in order :
- Measure the distance between the microphone and speaker. In our case is 2.75 m.
- Open the near-field response which we made at step 1.
- Click Edit -> Scale amplitude.
- Enter the following value : Radius of speaker / (2 x Length between mic and speaker).
- For our particular example we entered the following expression : 105/(2*2750)
- Click on the Smooth FR icon.
- Click on Edit – > LF box diffraction.
- Enter the dimensions of the baffle. In our case : 47 cm x 42 cm.
- Click Overlay -> Set as overlay

Step 4 : Find the resonant frequency of your car
We already made this measurement, we just have to open it. Hopefully you have saved the response. The overlapped curves look like this :

You can apply this method to easily find the resonant frequency of your car. In our particular case, the resonant frequency for a BMW 5 series sedan is 34 Hz. There is an obvious peak in response at that frequency which indicates that that is where the car resonates. The boost in output, compared to anechoic response, is 32 dB.
Conclusion
If you got the right tools, you can easily find the resonant frequency of your car. However, this is not the only method, and there are certainly more creative alternatives out there. The way we have done it, shows the whole frequency response, and I consider it useful information. Our car resonates at 34 Hz and this number is altered depending on the size of the car and if you make modifications to the car’s structure. If the car is smaller in size, the resonant frequency will go up (even to the upper 80’s). If the car is larger, the resonant frequency will go down. Adding bracing inside the car, will effectively stiffen it, and will increase the resonant frequency. Knowing this number, you can tune your subwoofer enclosures accordingly to get a better decibel score in SPL competitions.
References
- Image source : AI generated
You May also Like


Learn loudspeaker design from scratch

4 comments
How do you lower the resonant frequency? I am planning on dual 15”s on 8,000 watts; I will need deadening so the car won’t fall apart. I have had many different systems in there and the same ones in my other cars and you can tell by listening that the cabin frequency is in the 45-55hz range (I have never measured it officially). It is a 98’ Camry. I wouldn’t even mind killing the spike it has in the mid-bass , just something to make it sound more linear.
If you want it to play linear, why worry about the car’s resonant frequency? Just tune your box lower. If you really want to lower the resonant frequency of the car, you probably need to get a bigger car.
Thank you so much for this info. You made this so easy to read, and understand. And based on the results you achieved I’m left with one “burning” question I’d like to ask, OK?
You proved the subwoofer near field response is fairly flat. Great!
And then the microphone on the dash showed the response of the speaker in-car. Also great!
Then you were able to see the car’s resonant freq., and the calculate the amount of boost at that freq. This is outstanding too!
So now doesn’t that in-car response also represent what the listener sitting in the front seat would hear? I mean, it’s a “super-boosted” 34 Hz, and by 100 Hz the response is down 15-18 dB. Do we leave it like that, or do you (or anyone) then try to equalize it somewhat? And may I ask – if you DID equalize it, could you share what the net (equalized) response looks like?
Thank you for your time in advance!
Hello! This is just the subwoofer response with no filter. In real life scenarios, even the amplifier has some sort of low pass filter, so the response will taper off even more dramatically at 80+ Hz, The rest of frequencies are taken care of by the front speakers which are not included in the measurement, and of course need separate tuning to match the levels. This article is about tuning your sub to be as loud as possible and doesn’t take into consideration a pleasant listening experience.