
DIY Magnetic speaker grill – Step by step
How to make a speaker grill
Protecting your speakers is important, so crafting a DIY magnetic speaker grill is a convenient way to solve this issue. There are many ways to protect your speakers, but making a magnetic grill has several advantages. It creates a clean look with seamless integration. Easy to clip-on or to remove. Pretty easy to do, if you have the right tools.
The grill can be made for any type of speaker, but in my case it’s used for a portable speaker. If you want to know more about this speaker check out this article. As for the material, the choice was 4 mm MDF (any size MDF will do) and low thread count cotton for the fabric.
DIY Magnetic speaker grill fabrication process
I find that it’s easier to post some pictures about the process and explain along the way. The process is more enjoyable to check out some images and maybe figure it out from there. I know reading is for nerds, but written explanations are as a side dish.
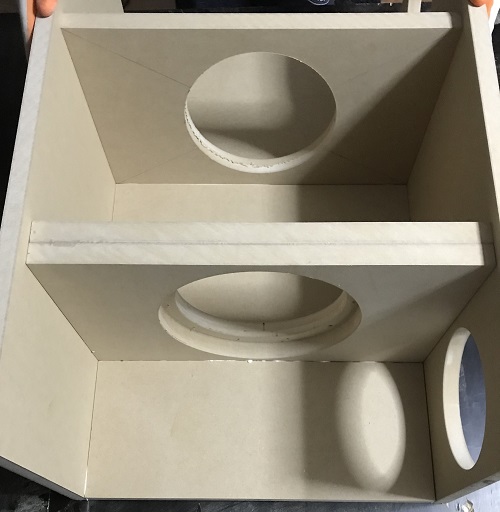
Placing the magnets
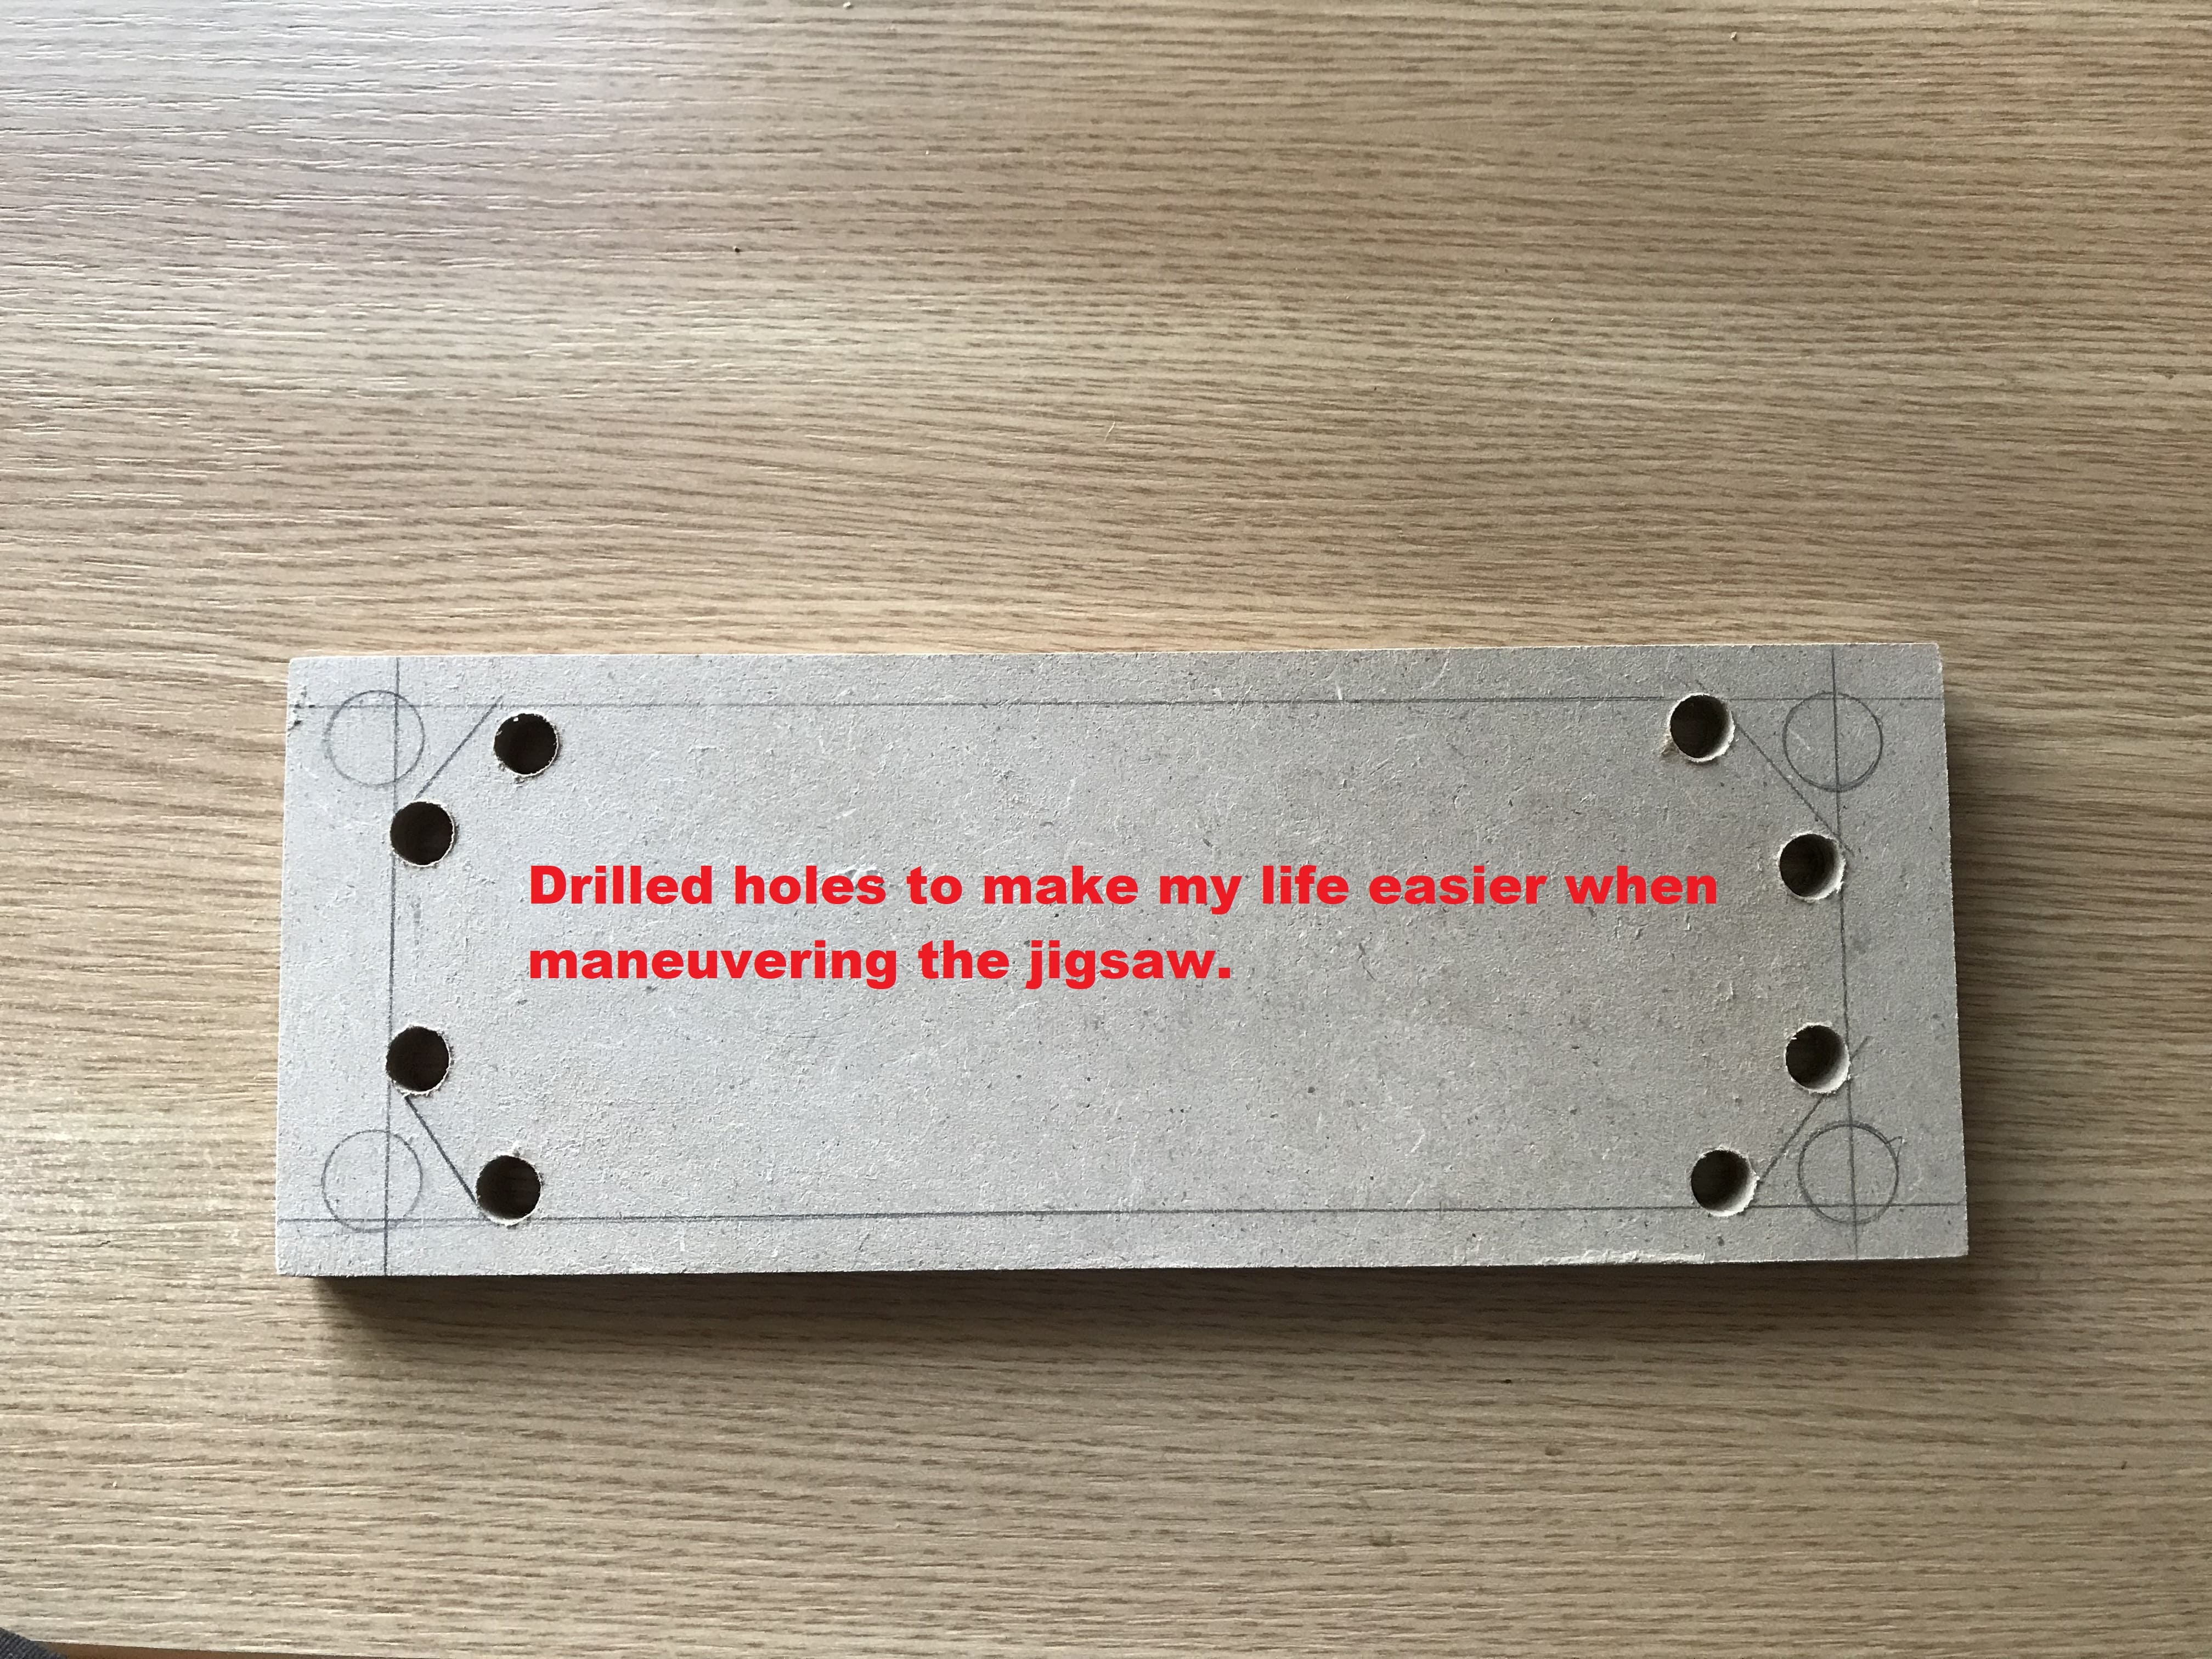
Since this is a small speaker box, I used 4 mm MDF. I sandwiched 3 panels and used the middle one to hold the magnets. If you are making a DIY magnetic speaker grill for a full size speaker you can have a different approach. If you are using 18 mm MDF, you can drill it half way, and place the magnet inside the hole.
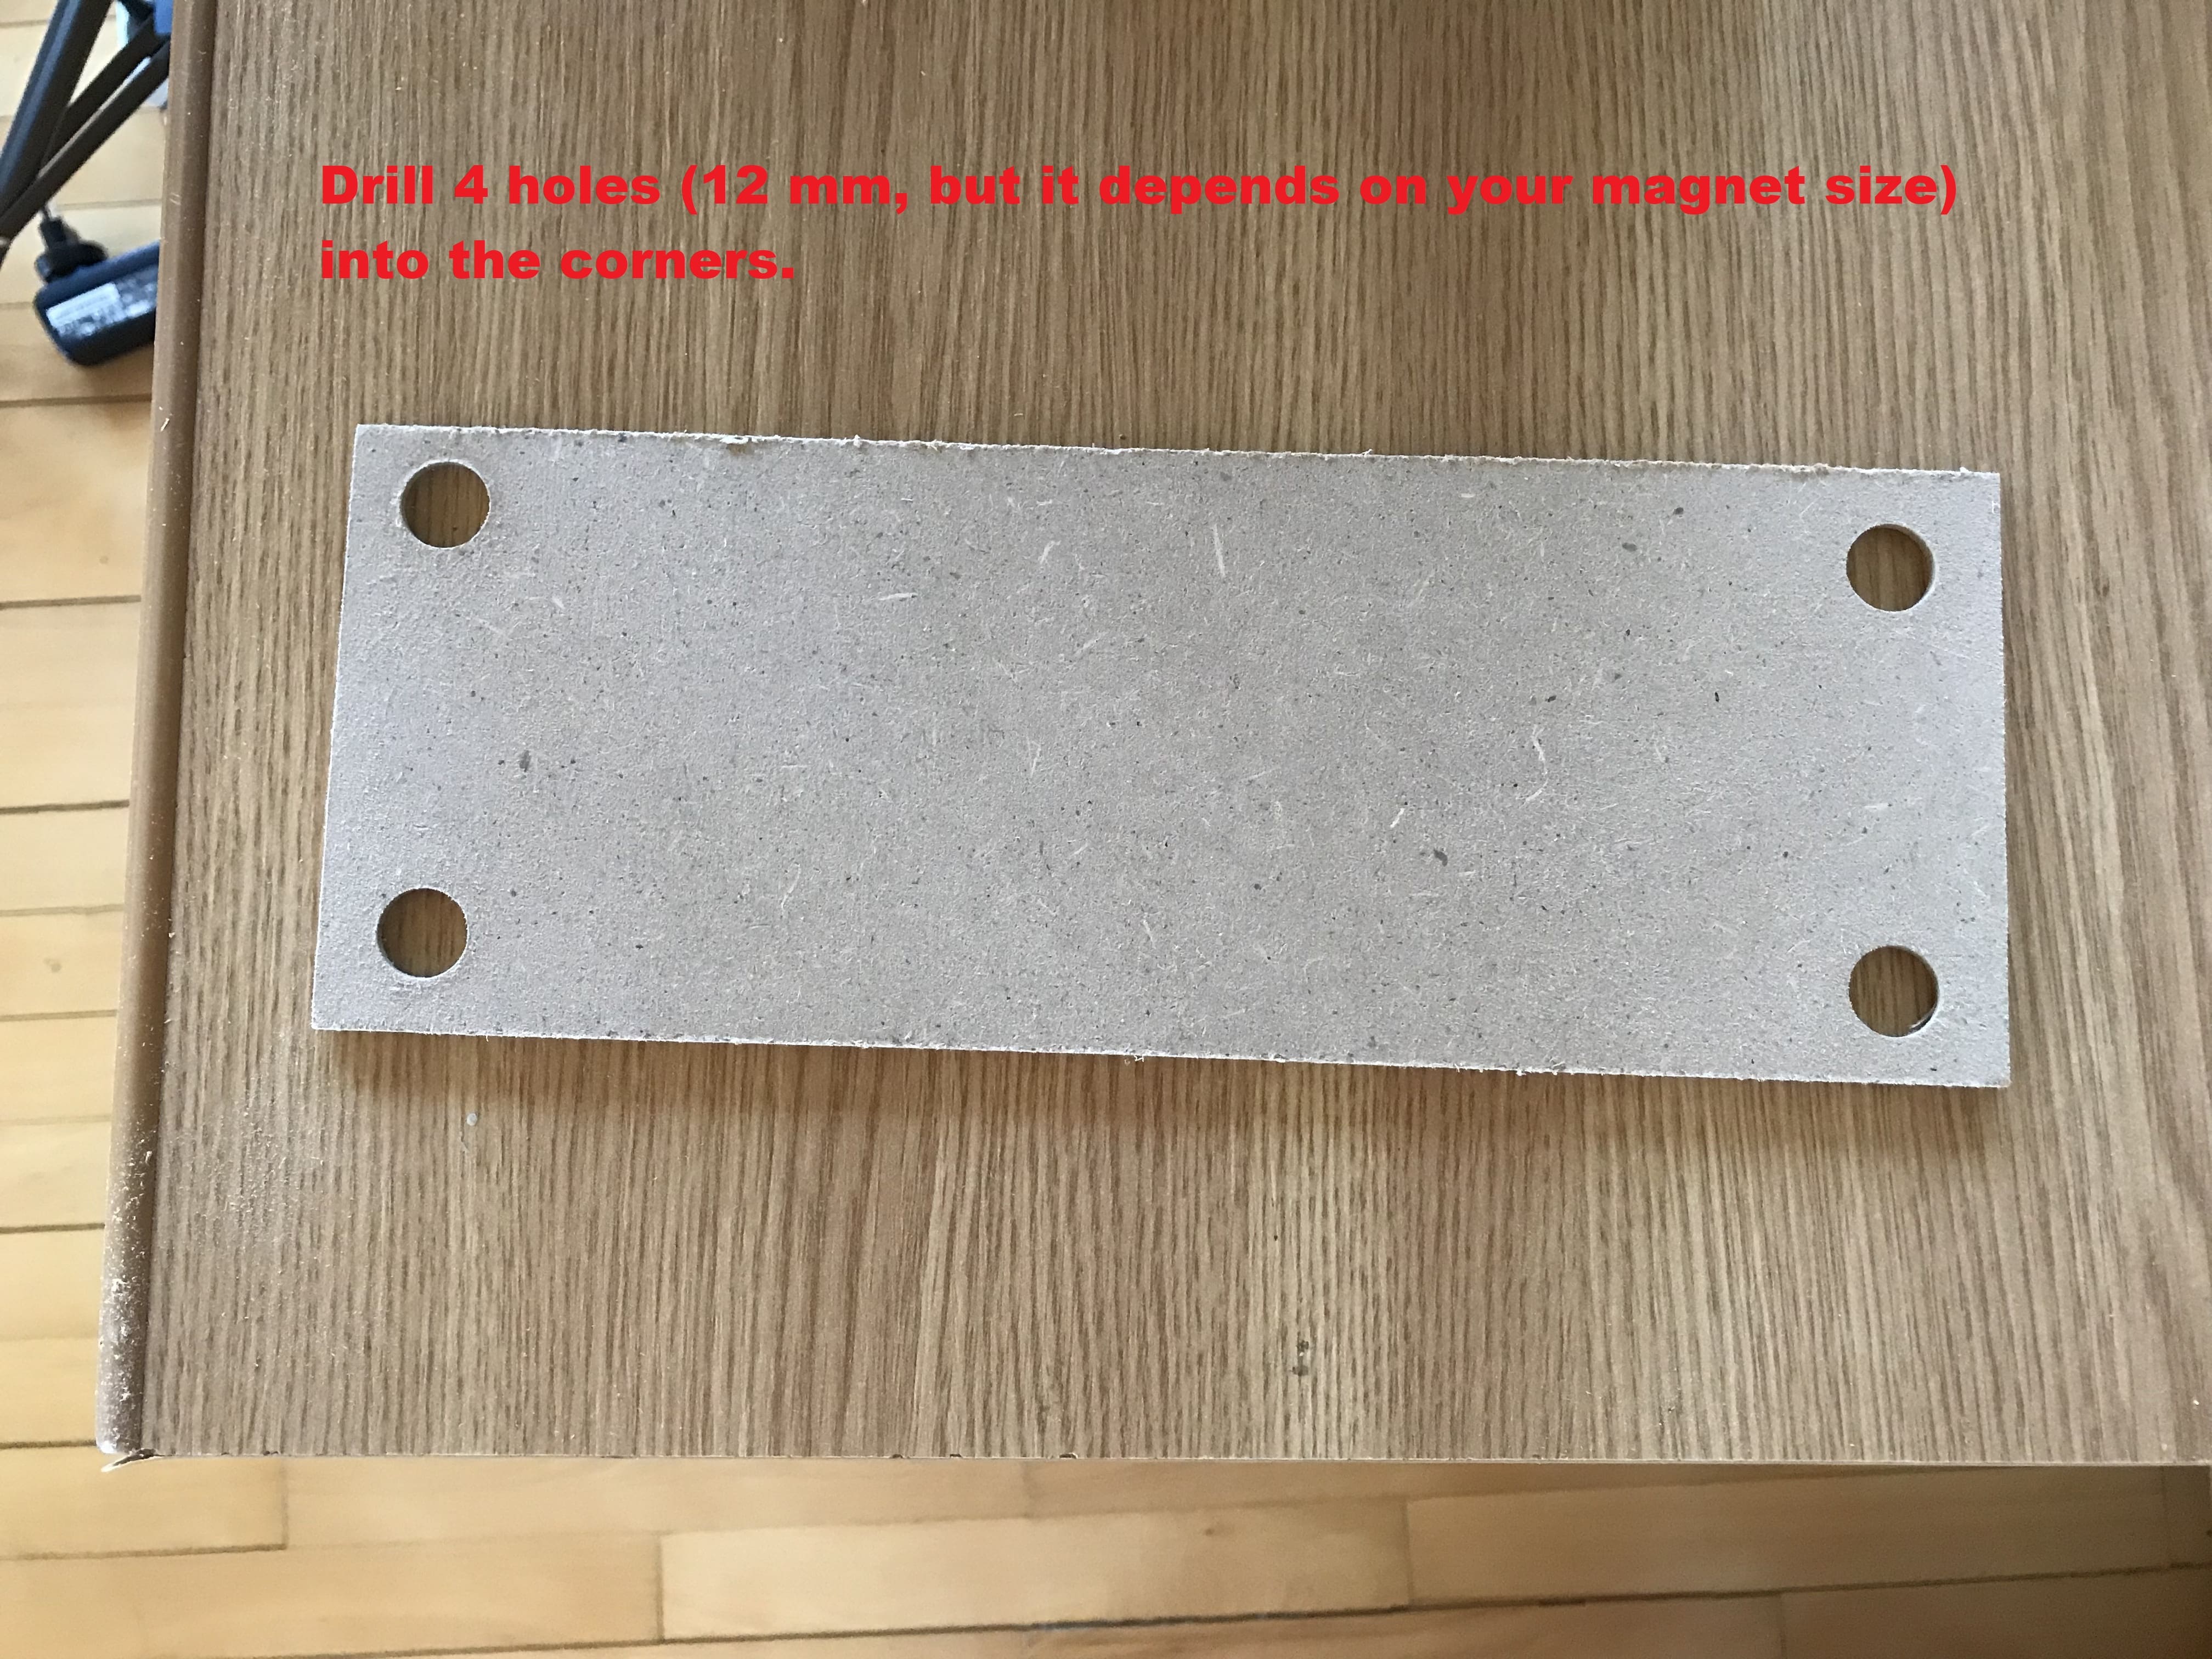
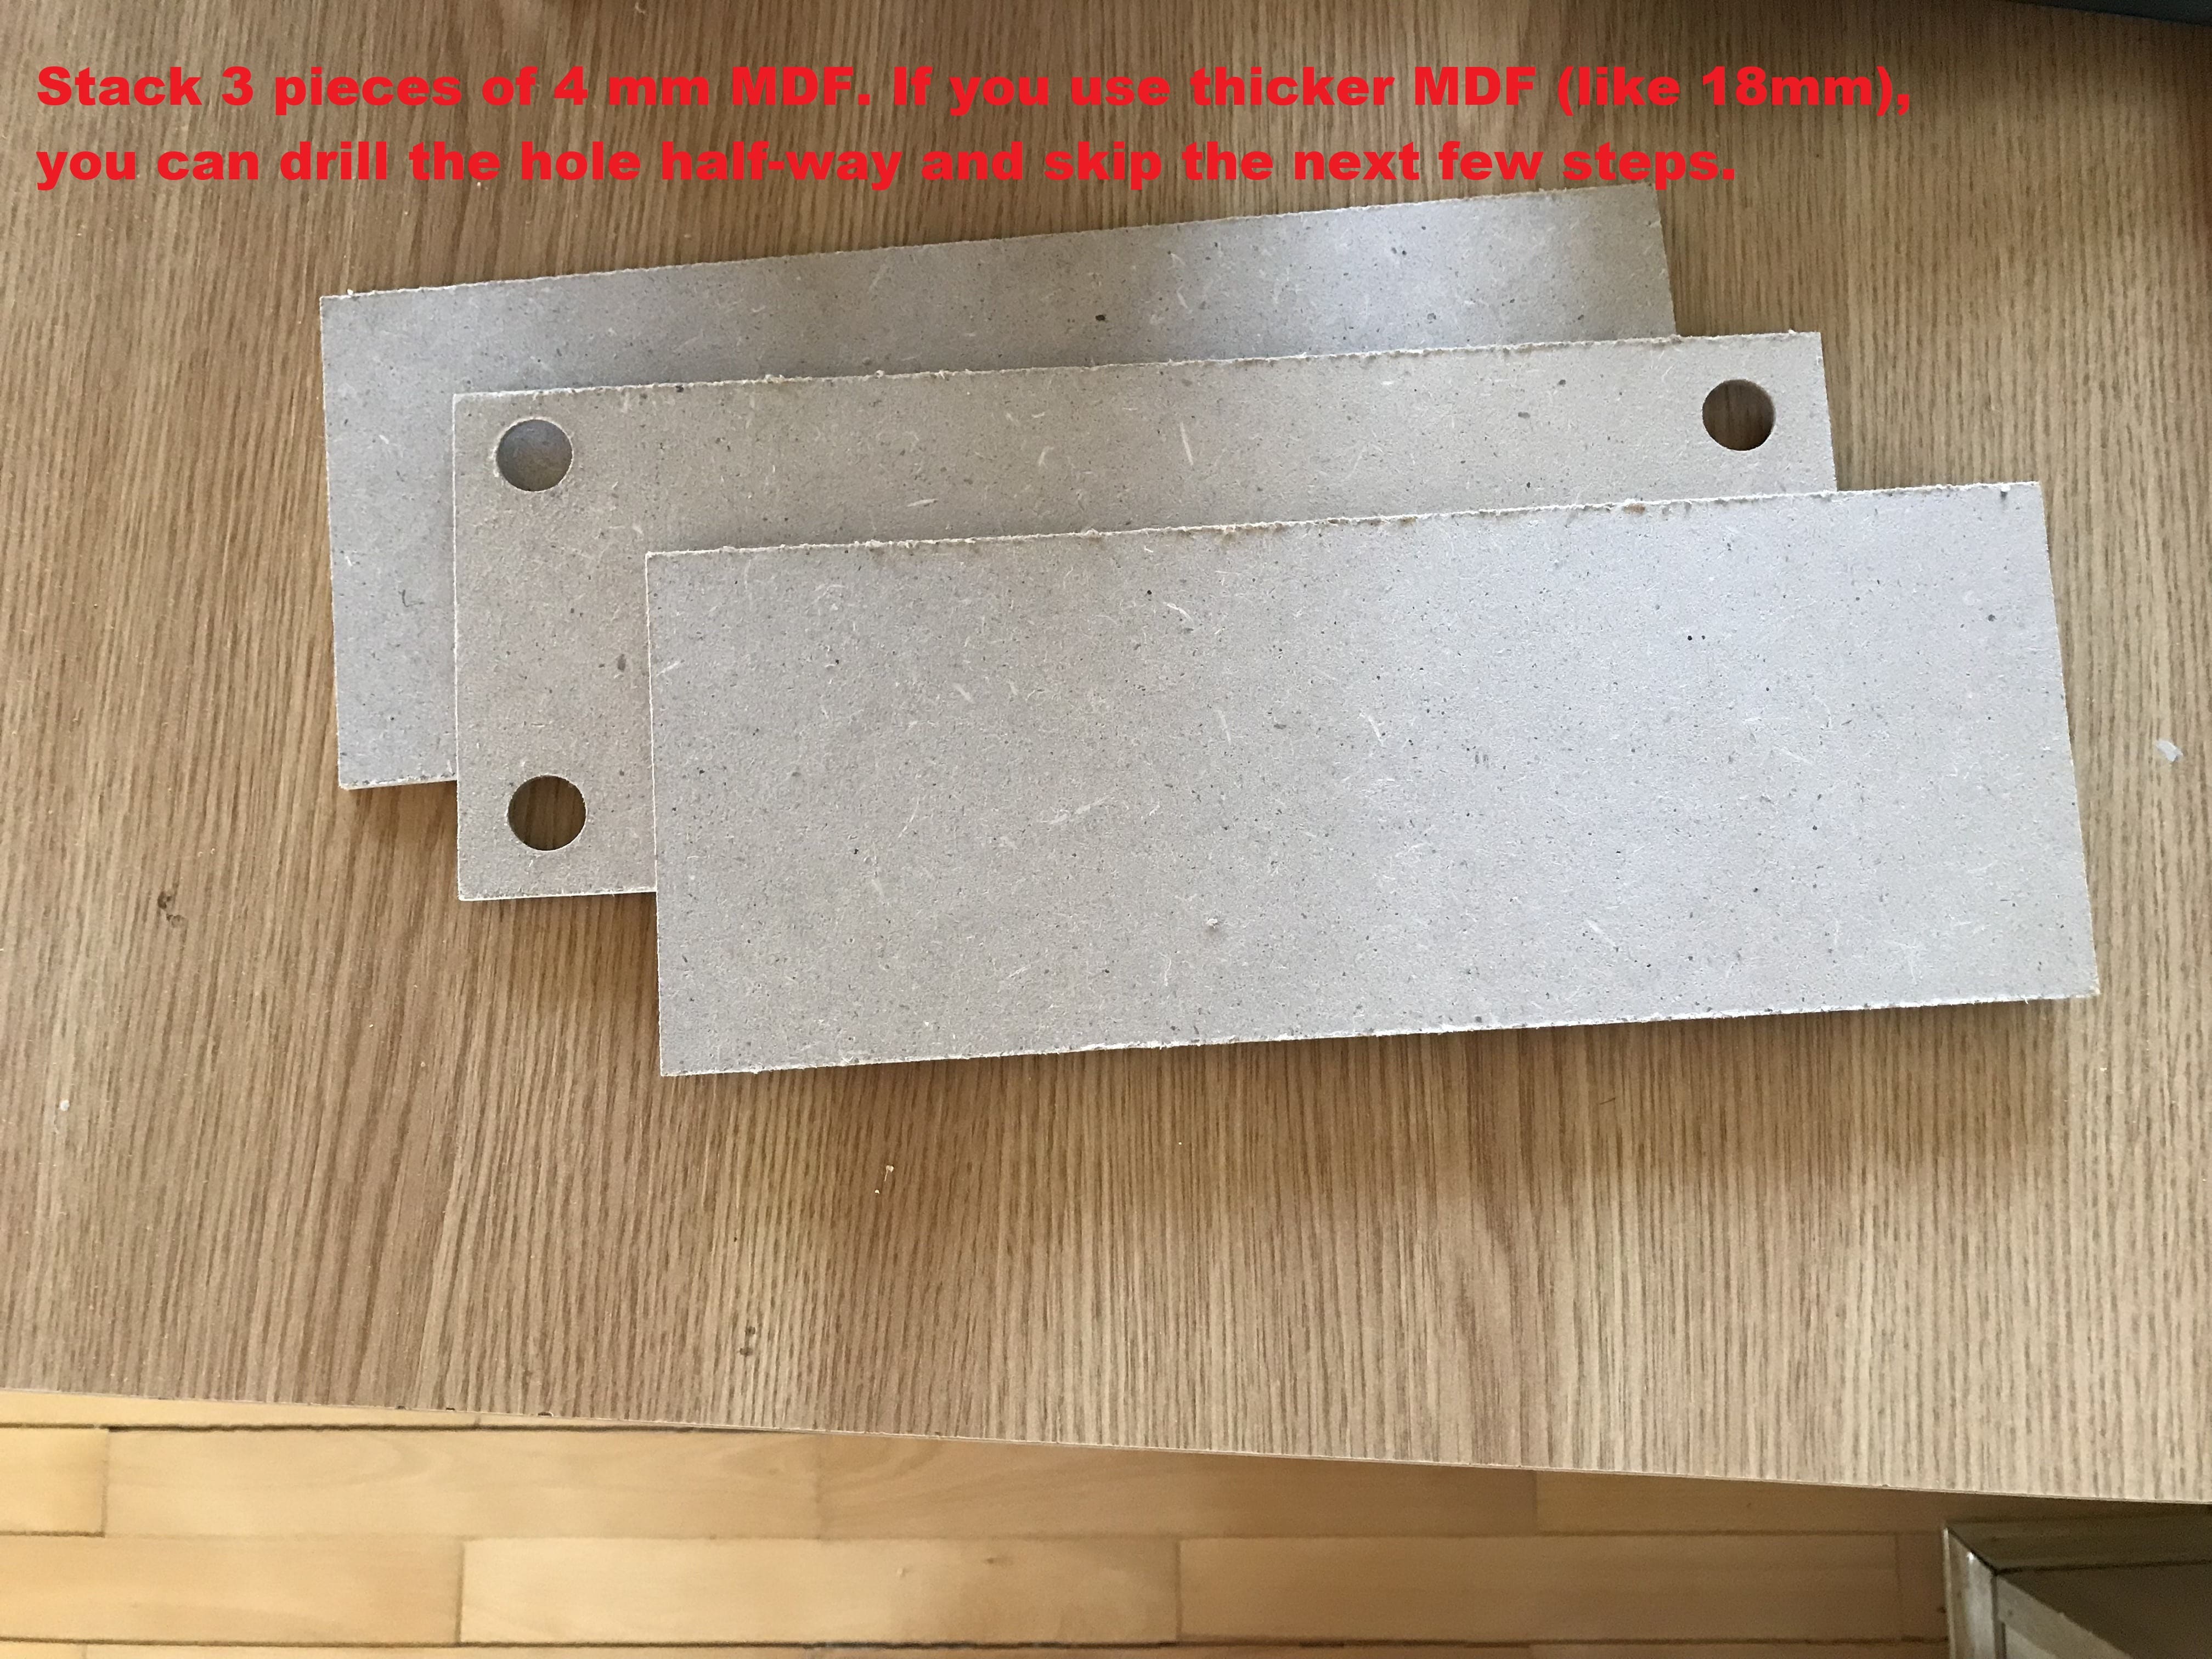
For our project, I drilled holes in the middle panel only. The neodymium magnets are 3 mm thick and the hole is 4 mm deep (MDF board thickness).

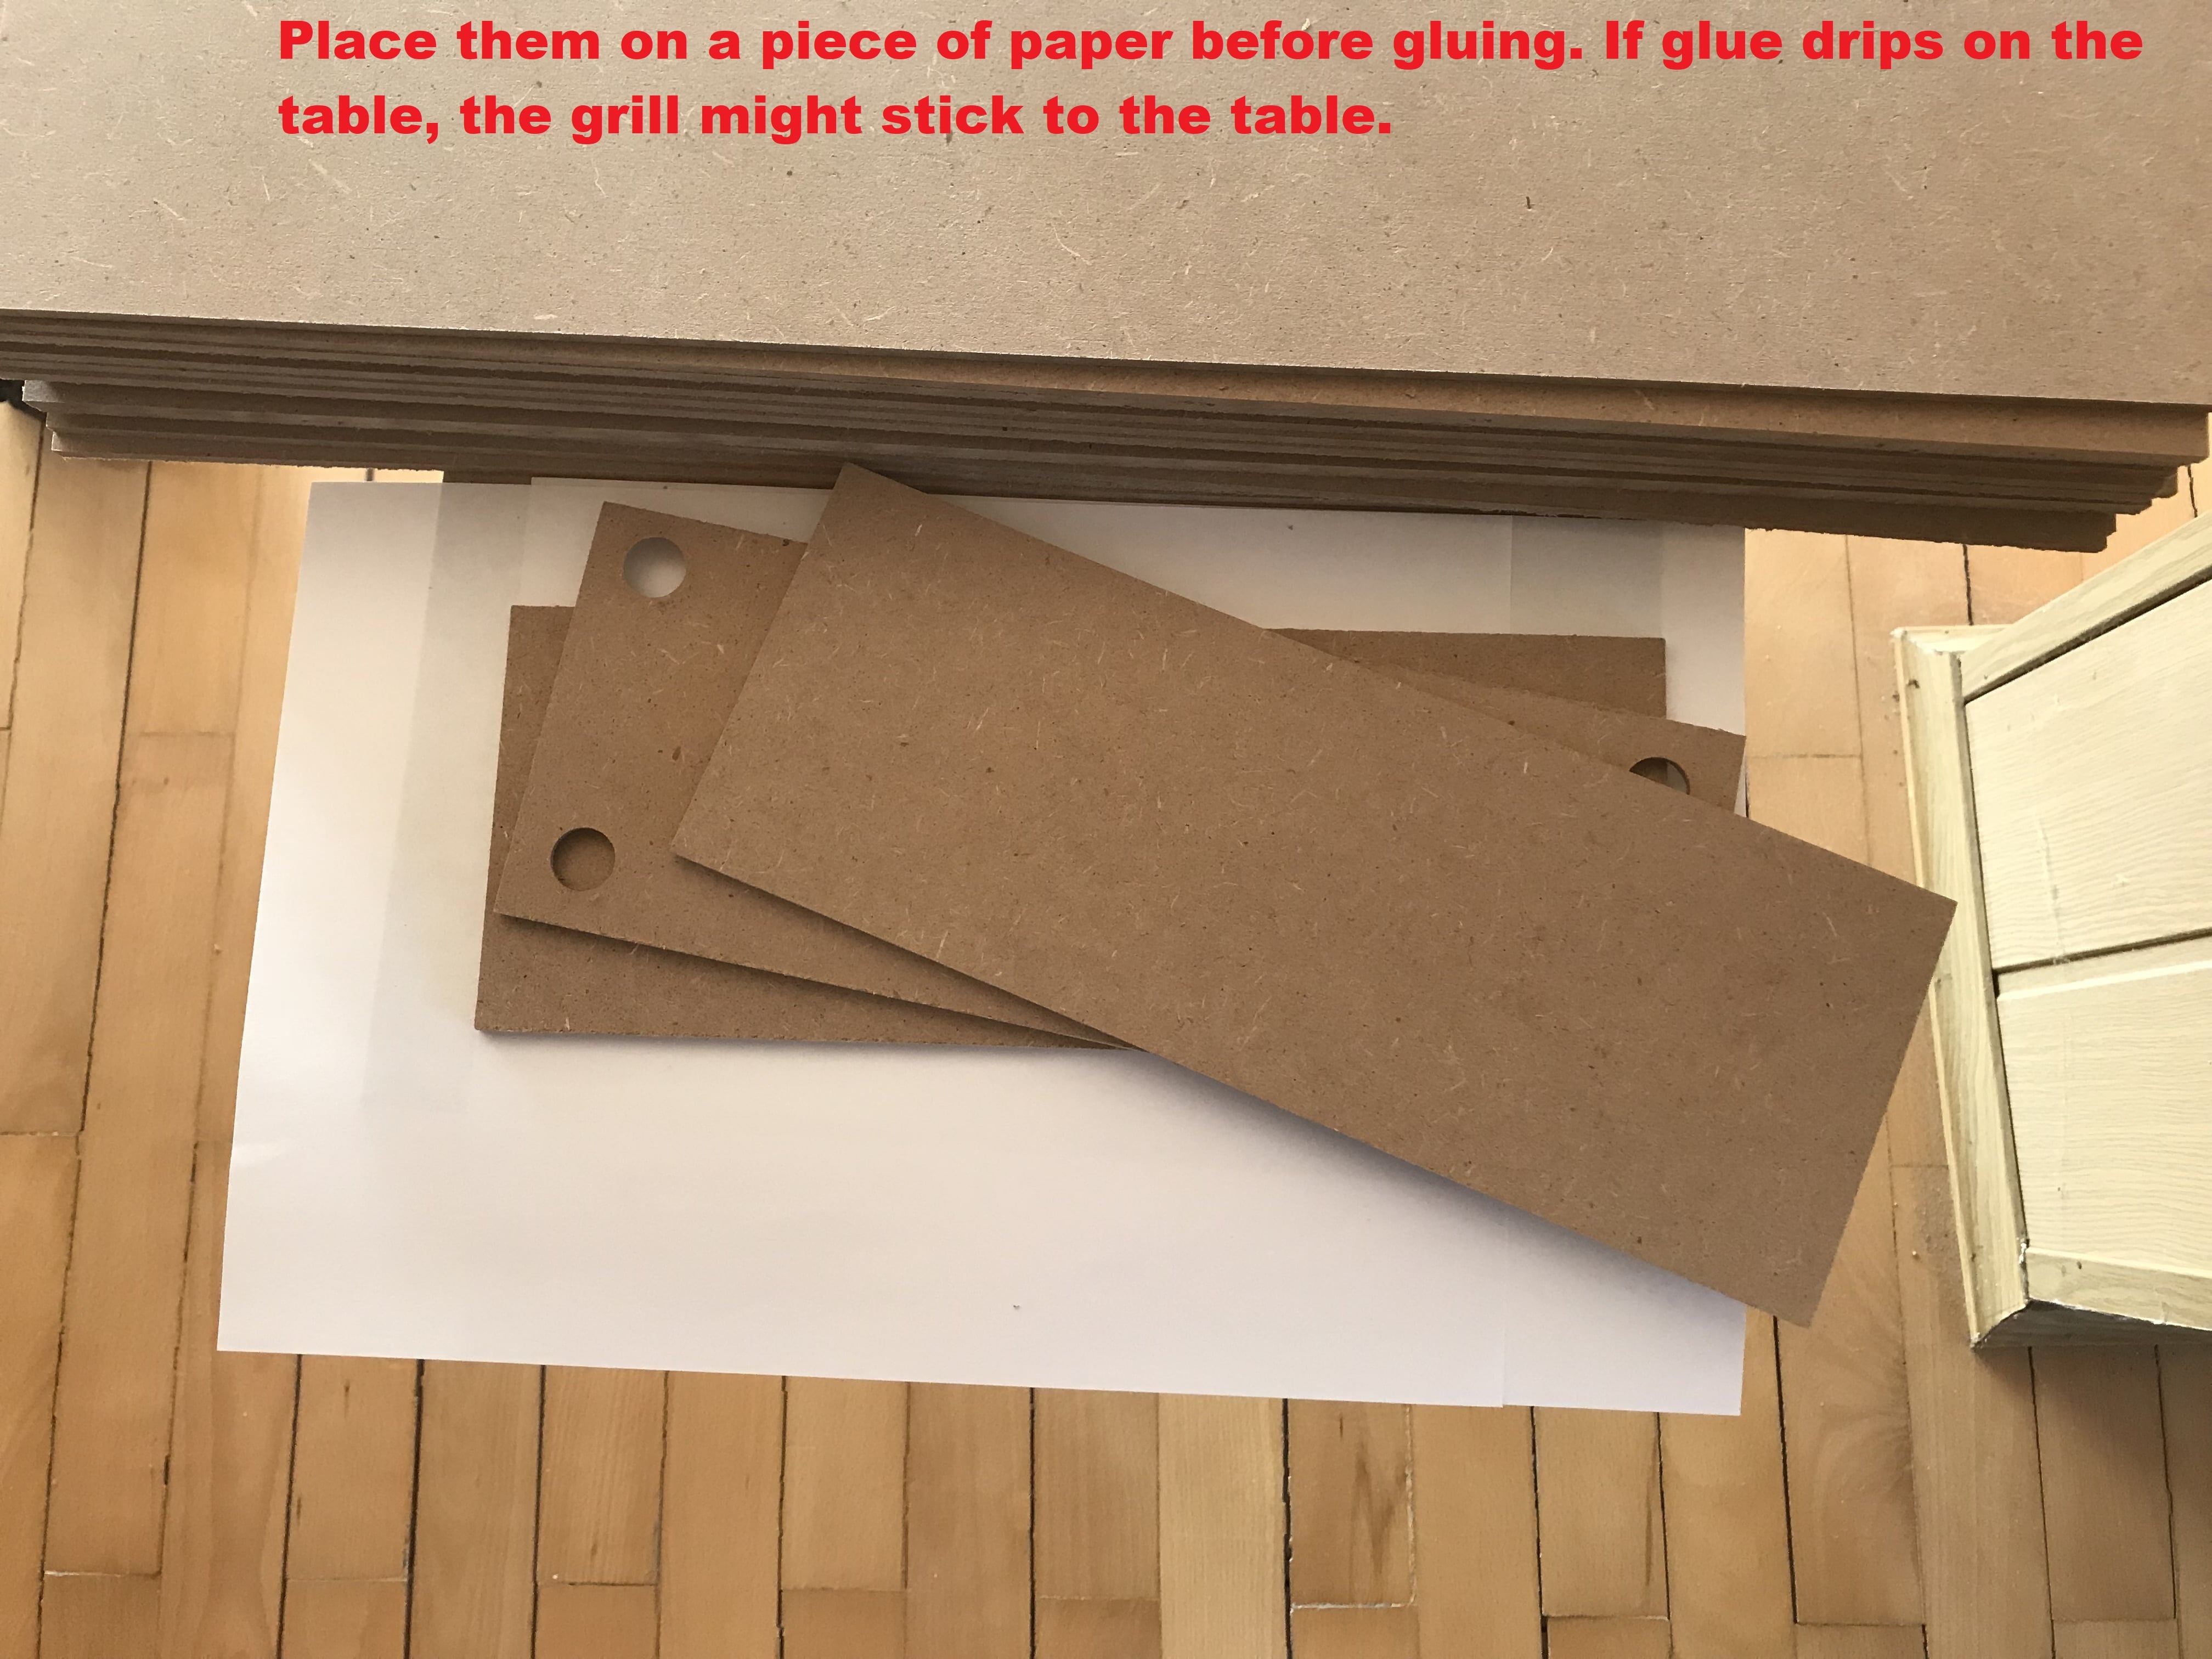


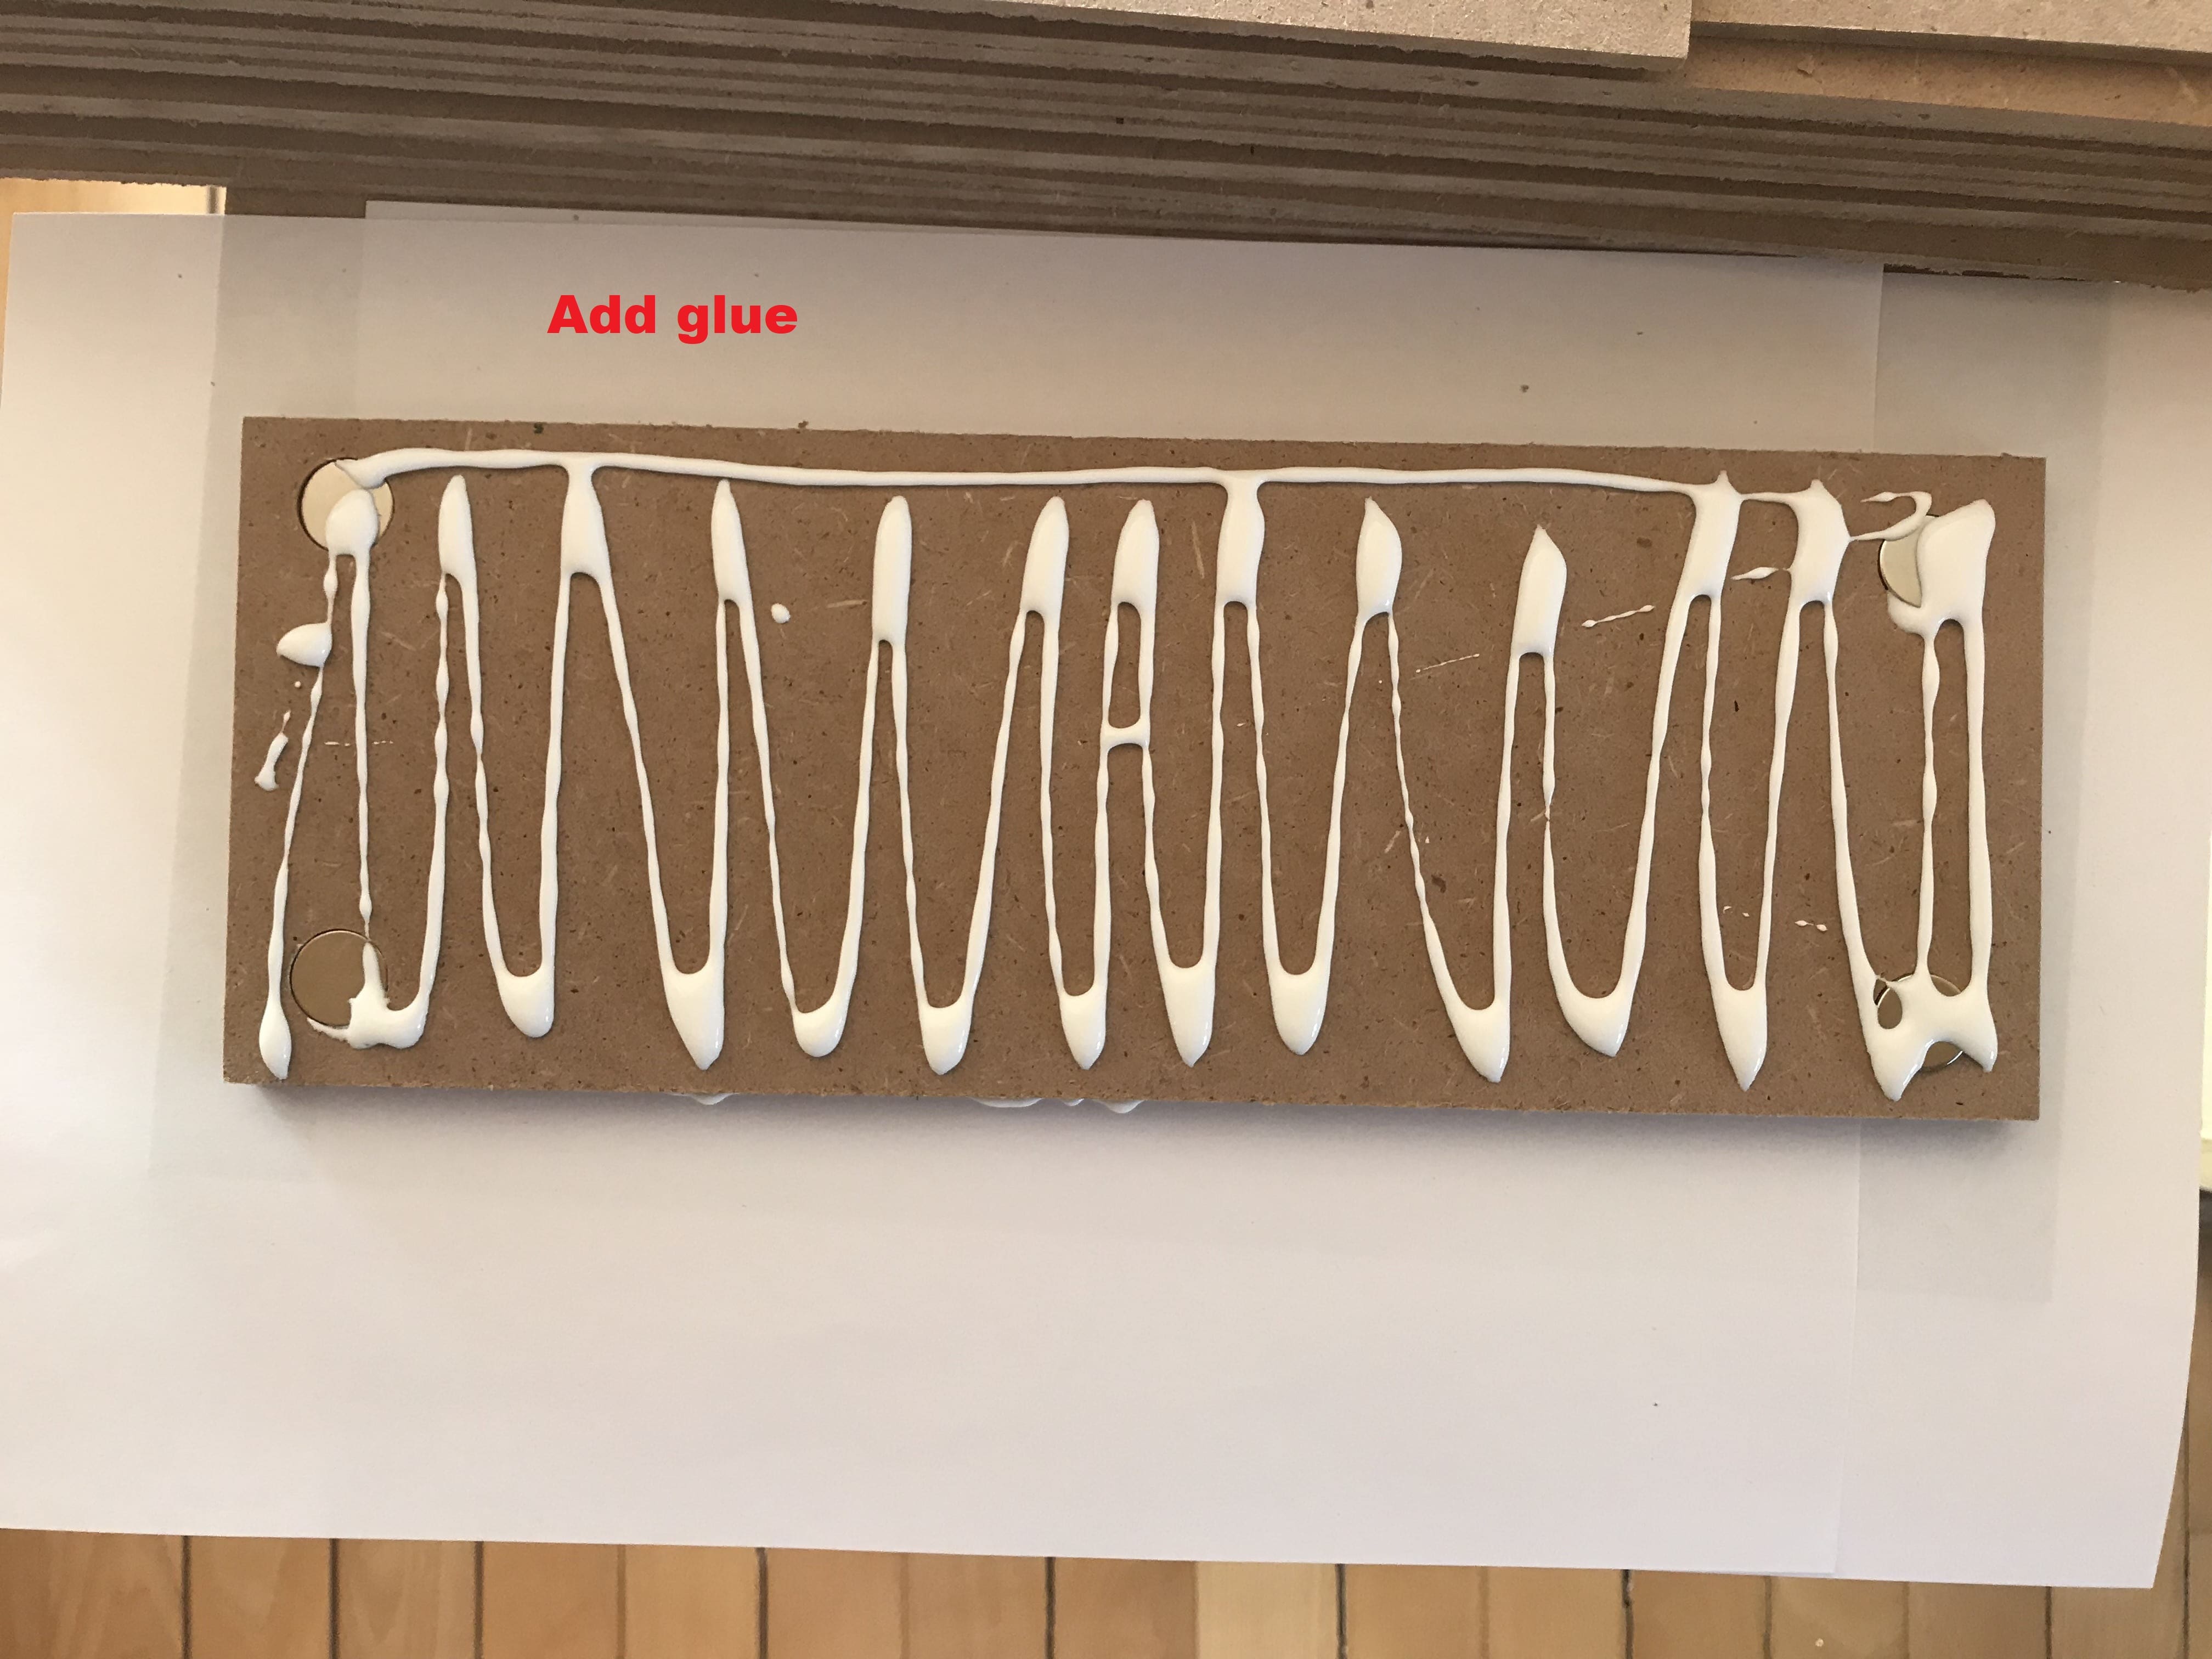
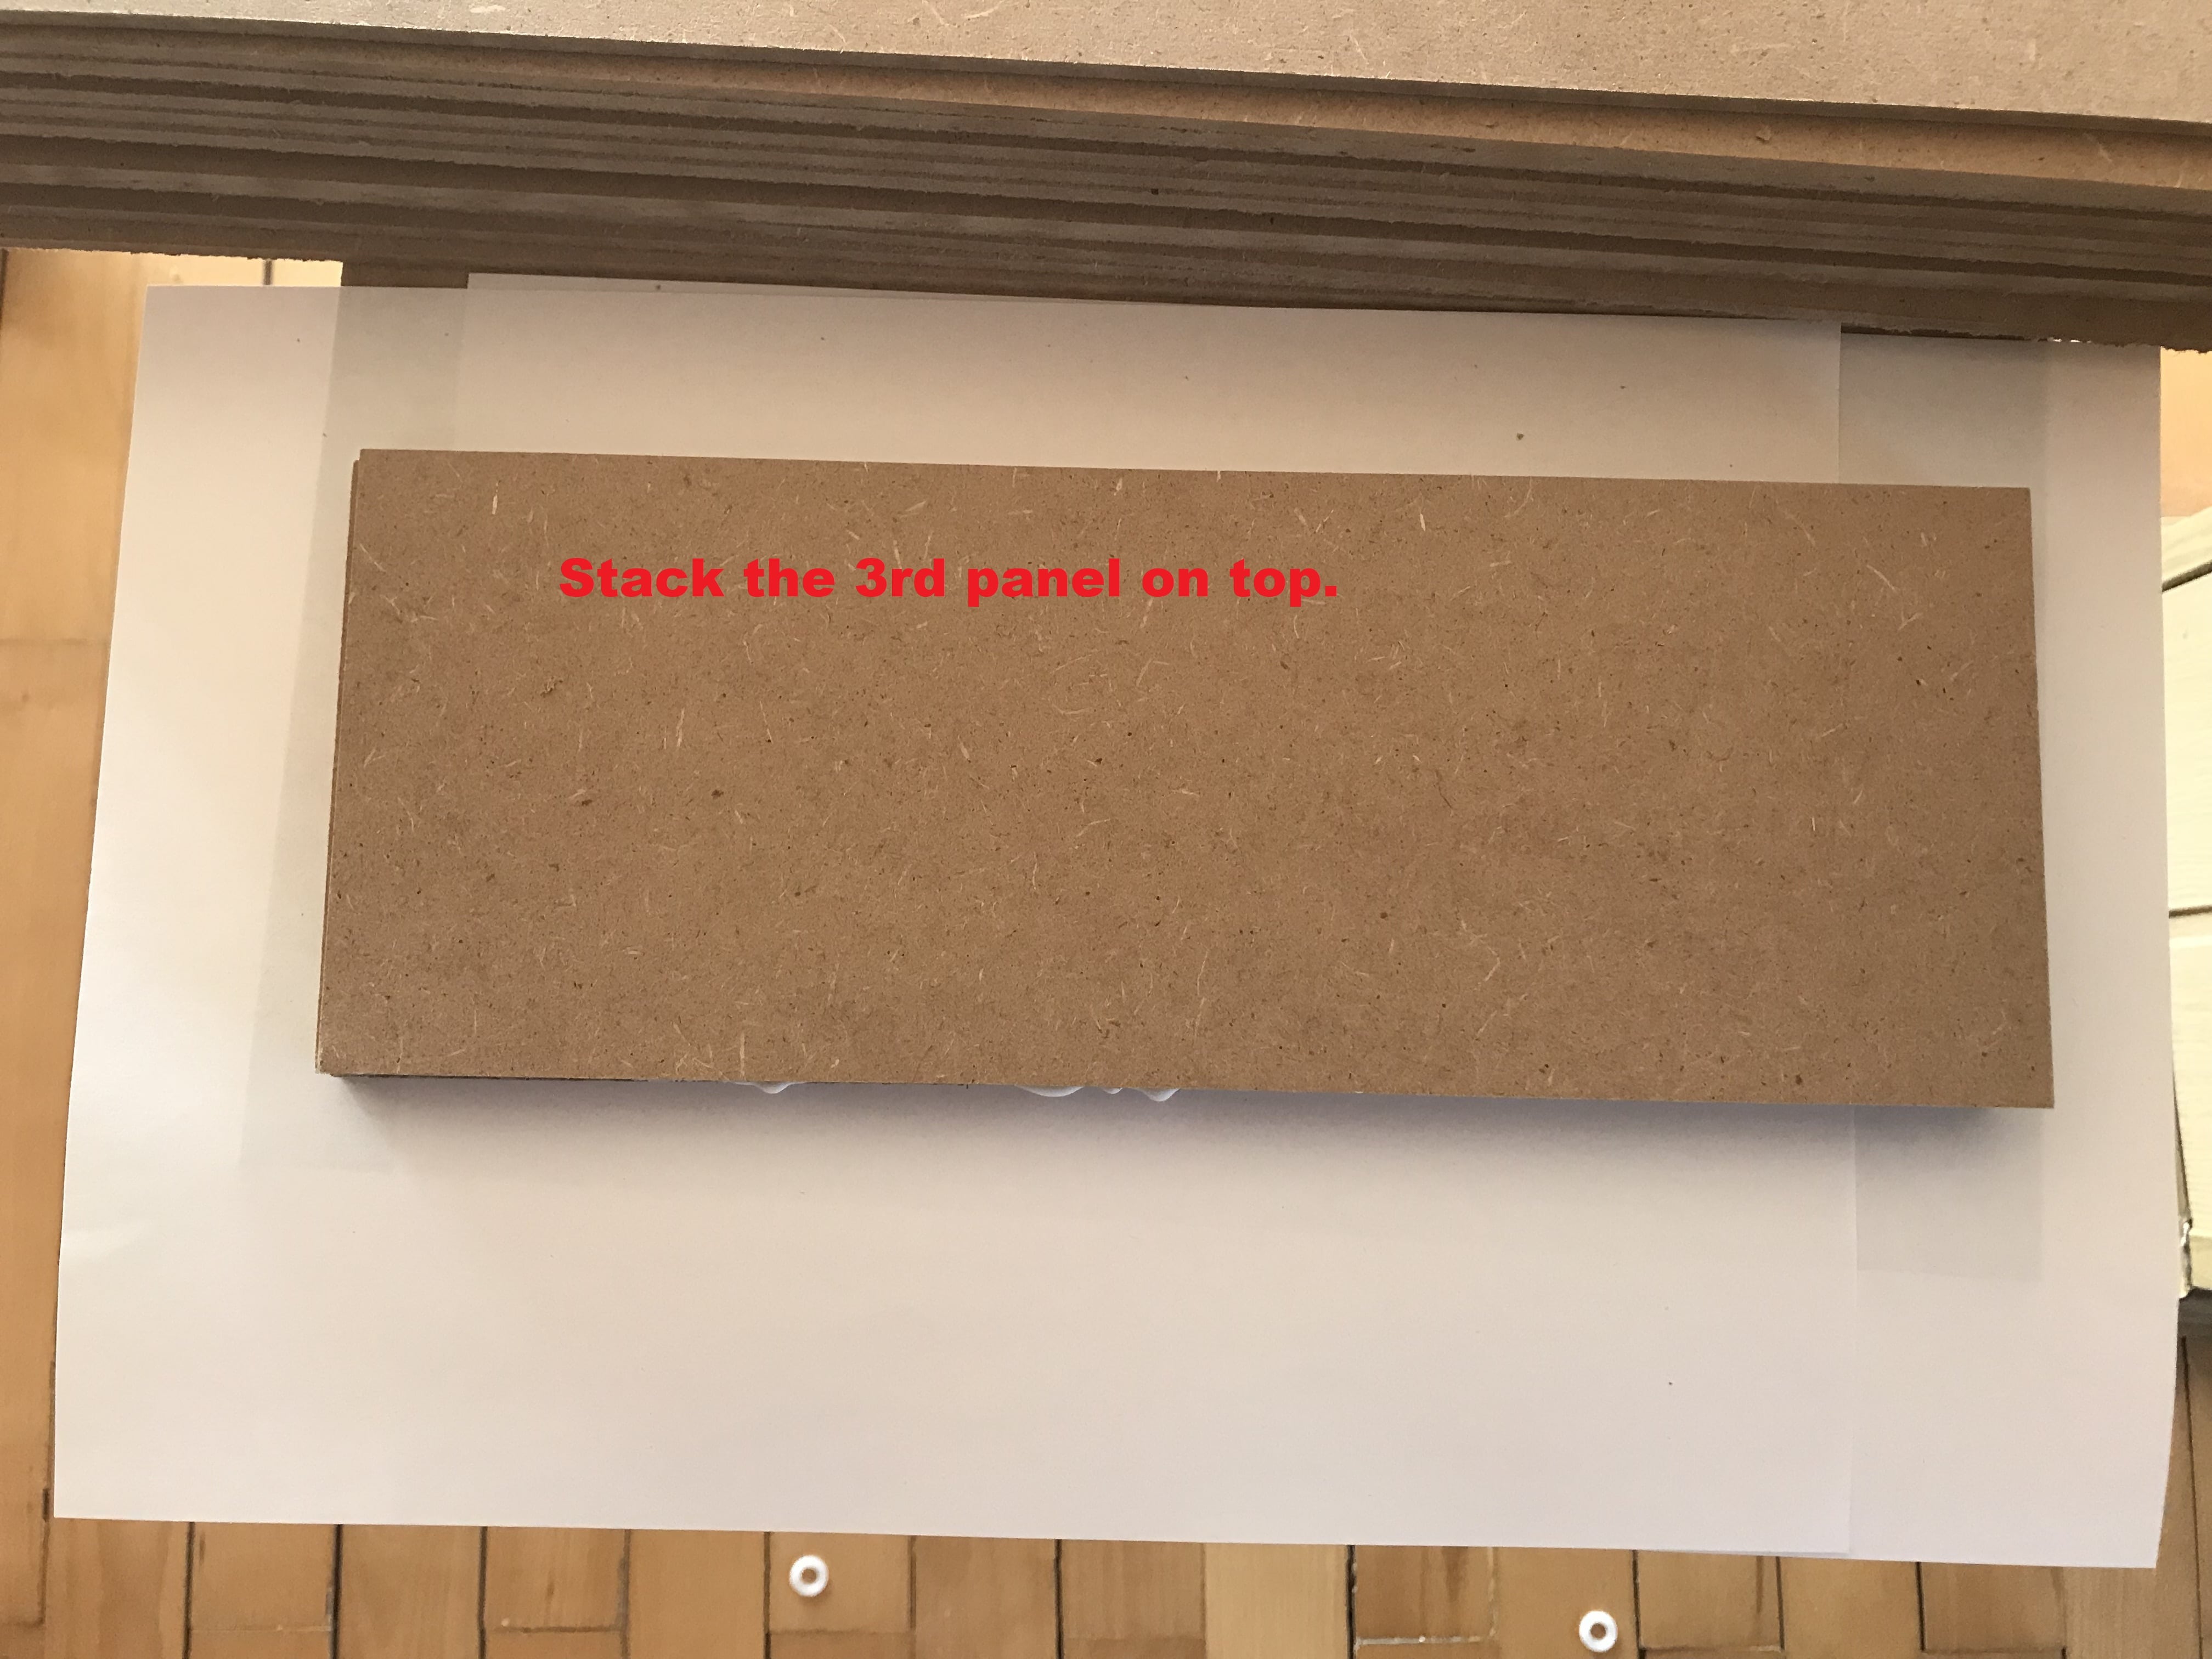
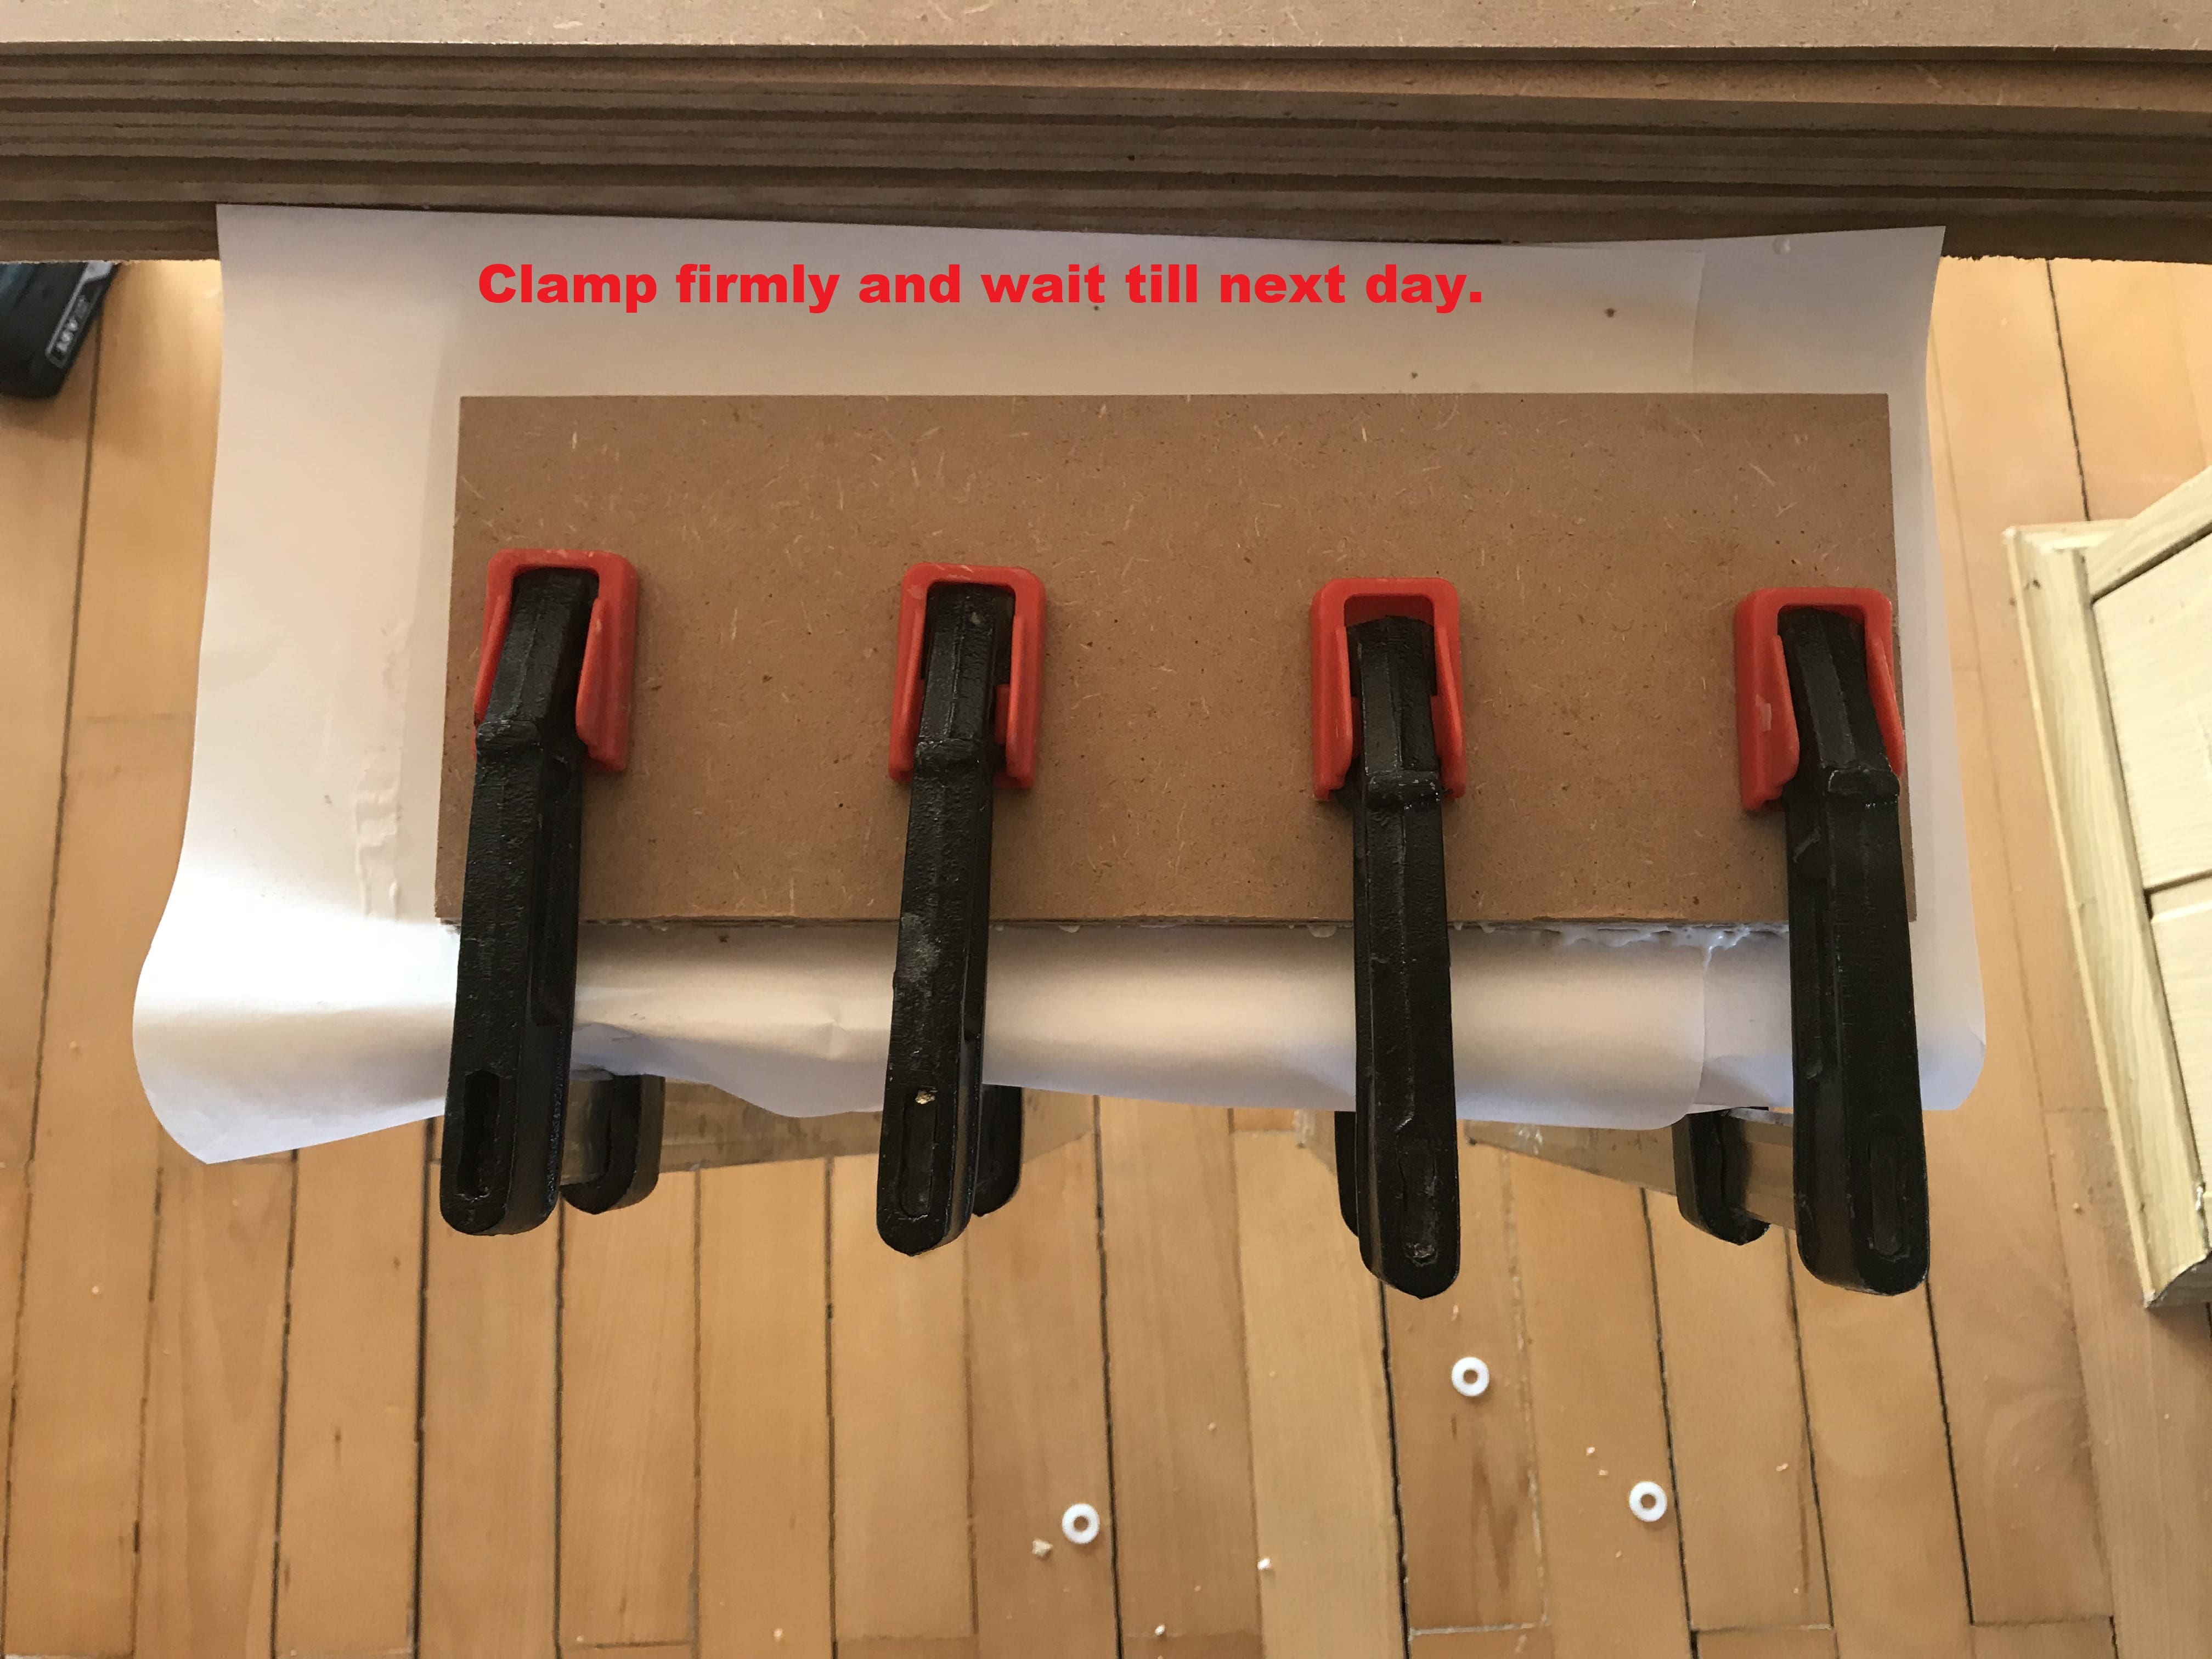
After you placed the magnets, just sandwich the 3 panels together and place wood glue between them. Clamp them firmly and wait 24 hours.
After the glue has dried off you can sand the newly created piece to make it smooth and remove excess hardened glue.
Cutting the board
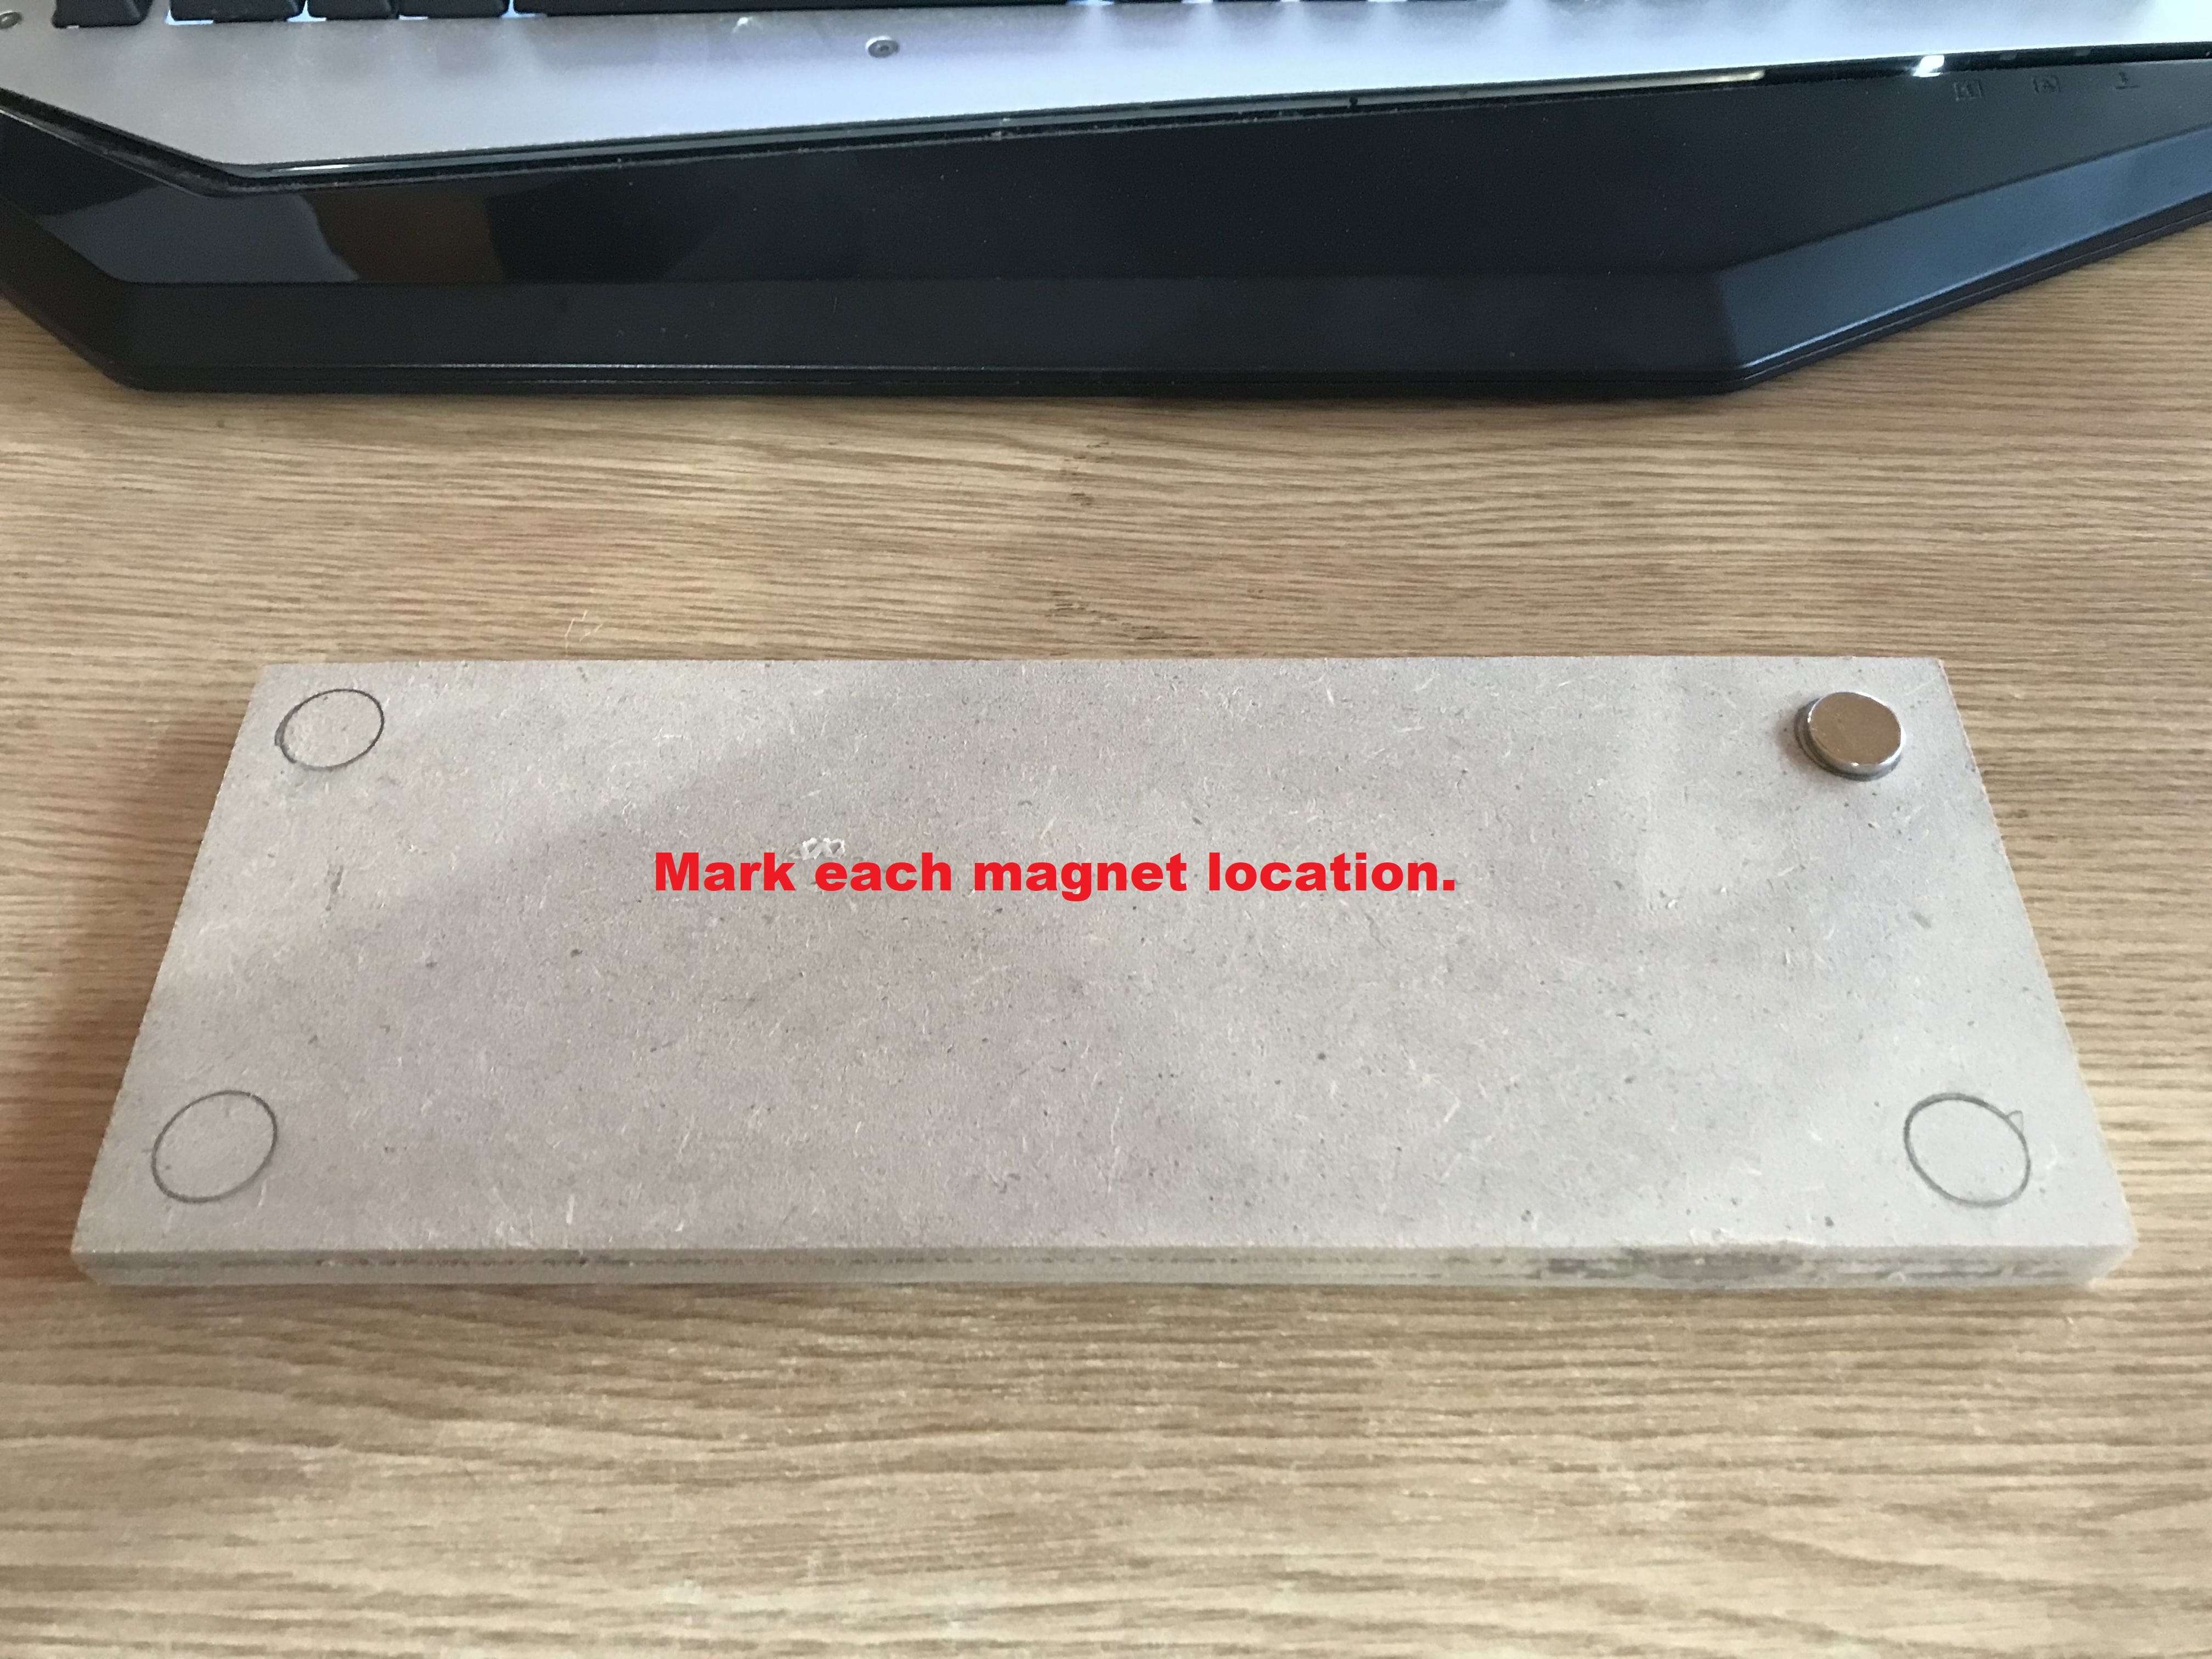
First, we want to find out the position of the magnets. We need to cut very close to them, so we need to identify their location. This is easily done with and extra magnet. Use a pencil to mark down their location.

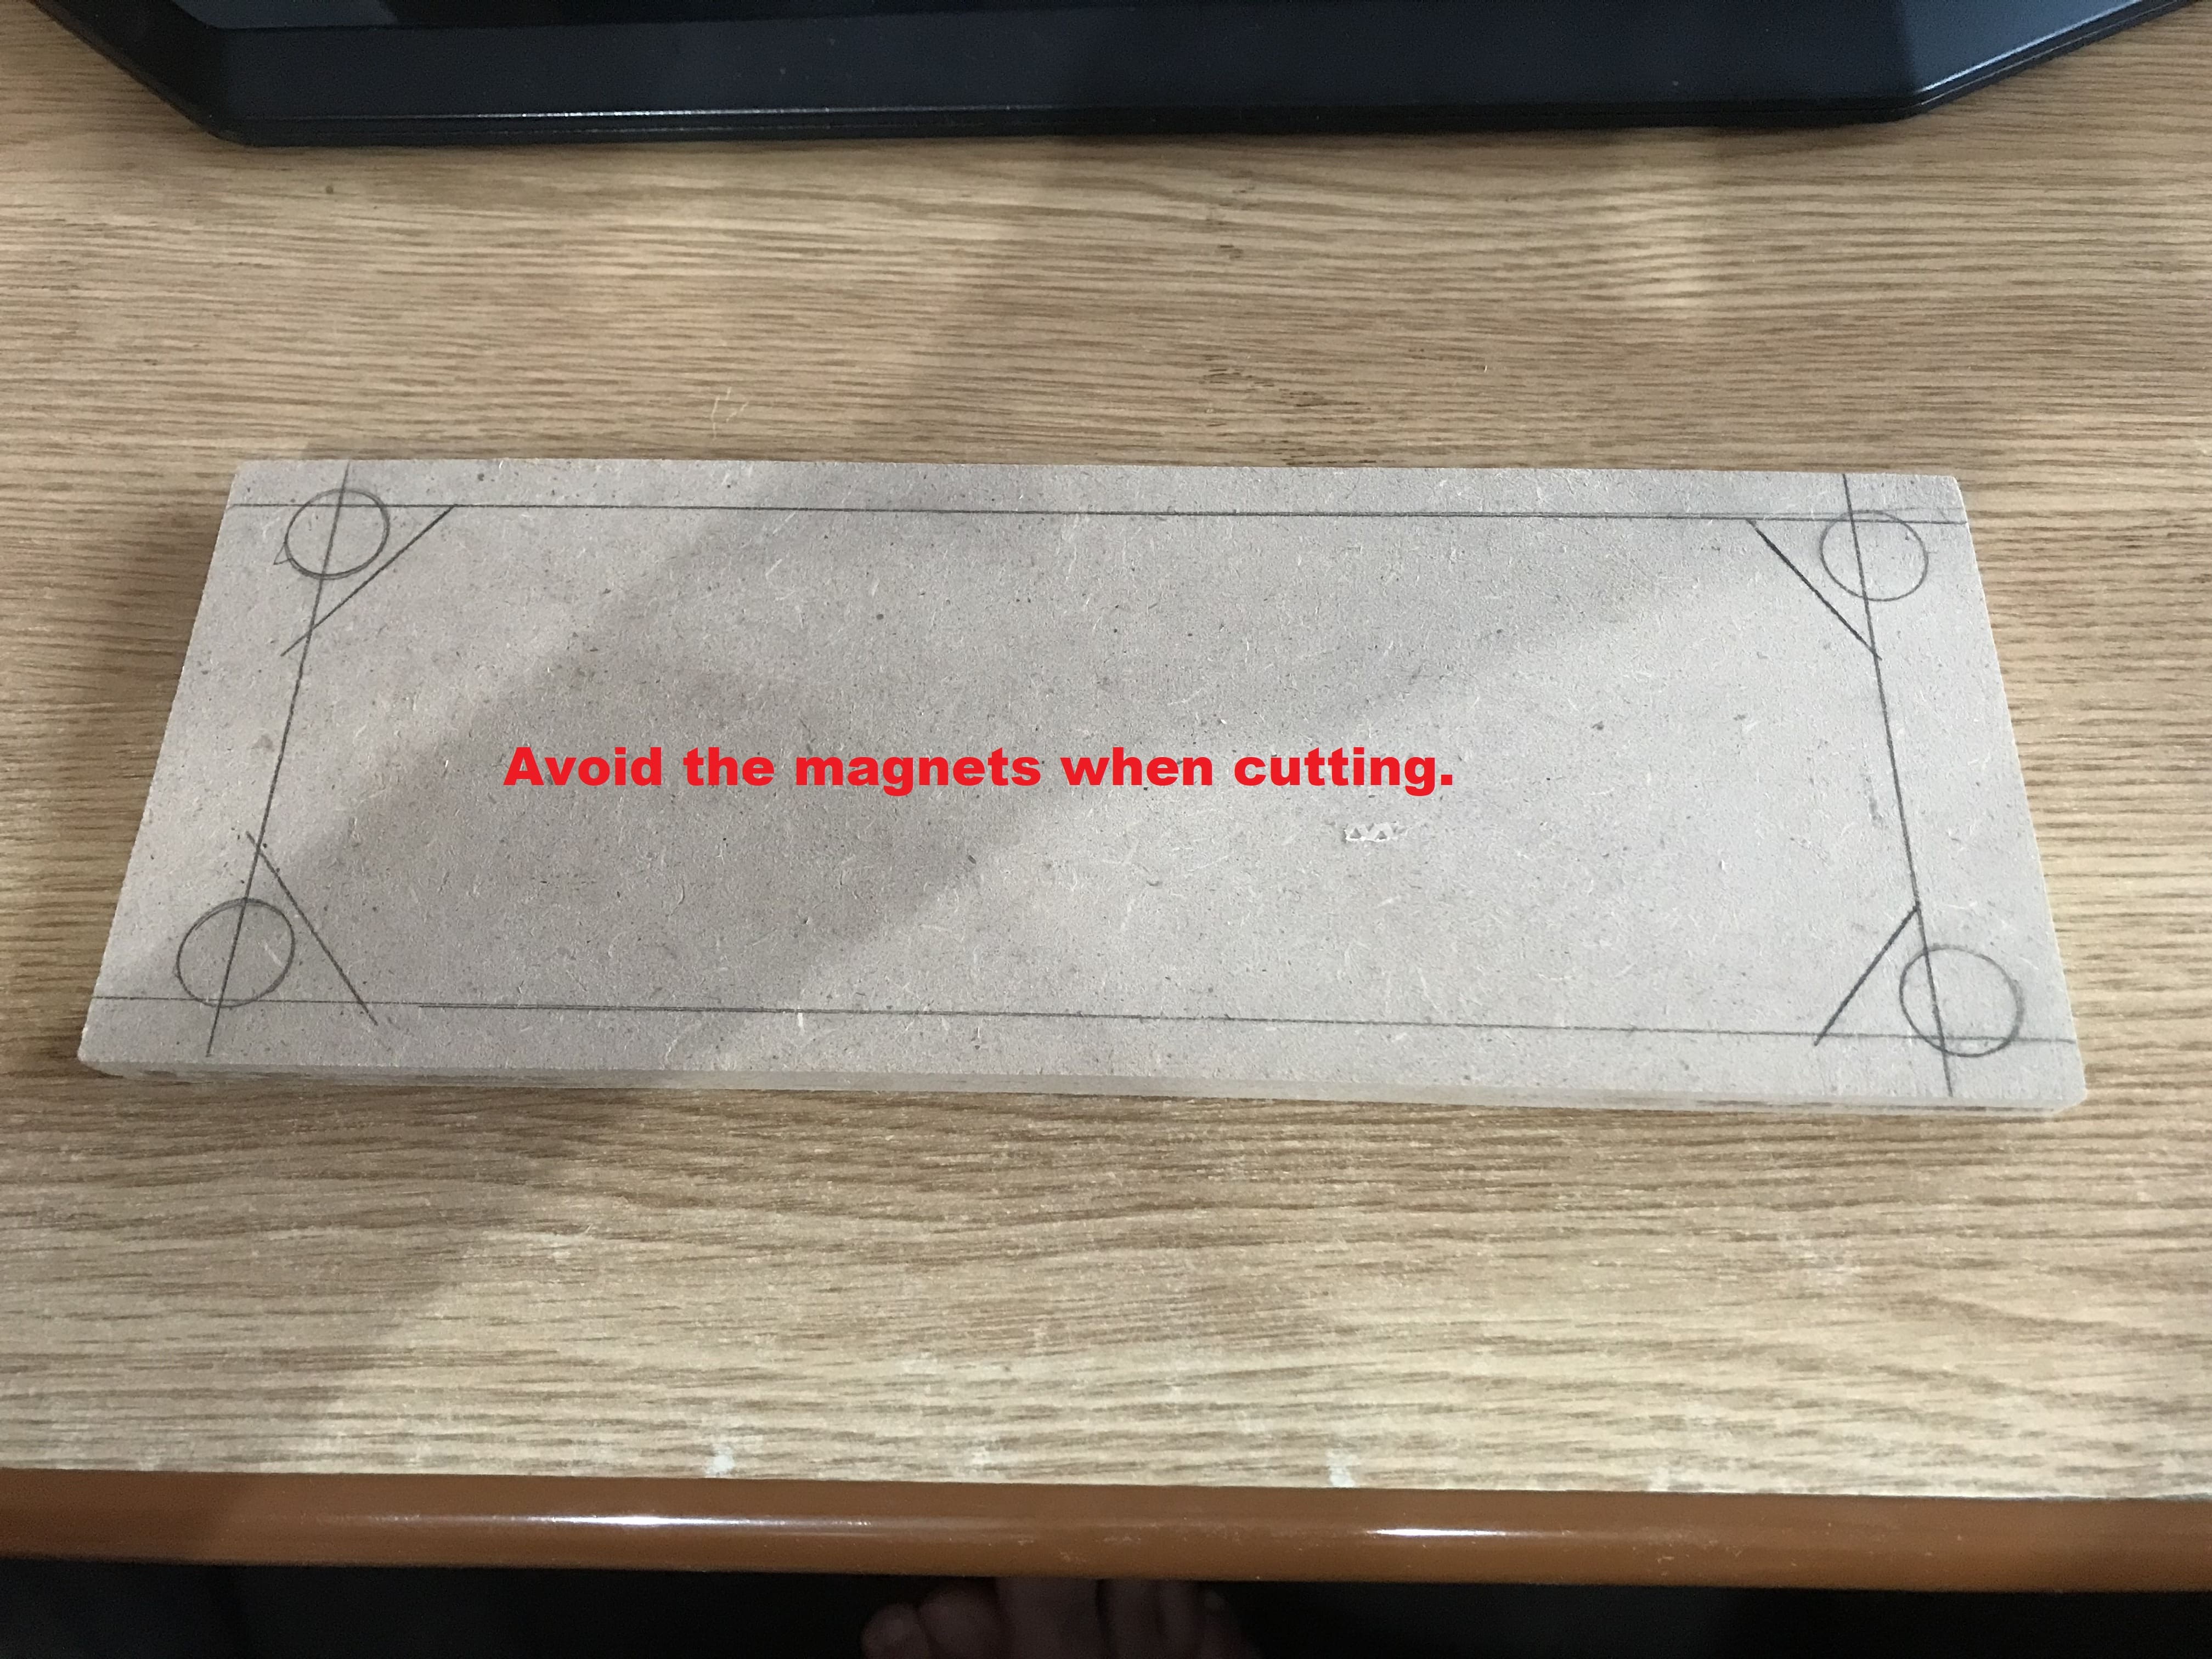
Draw the lines where you want to cut. You need to have sufficient clearance for the speakers. However, don’t cut too much, because you need room for the staples.
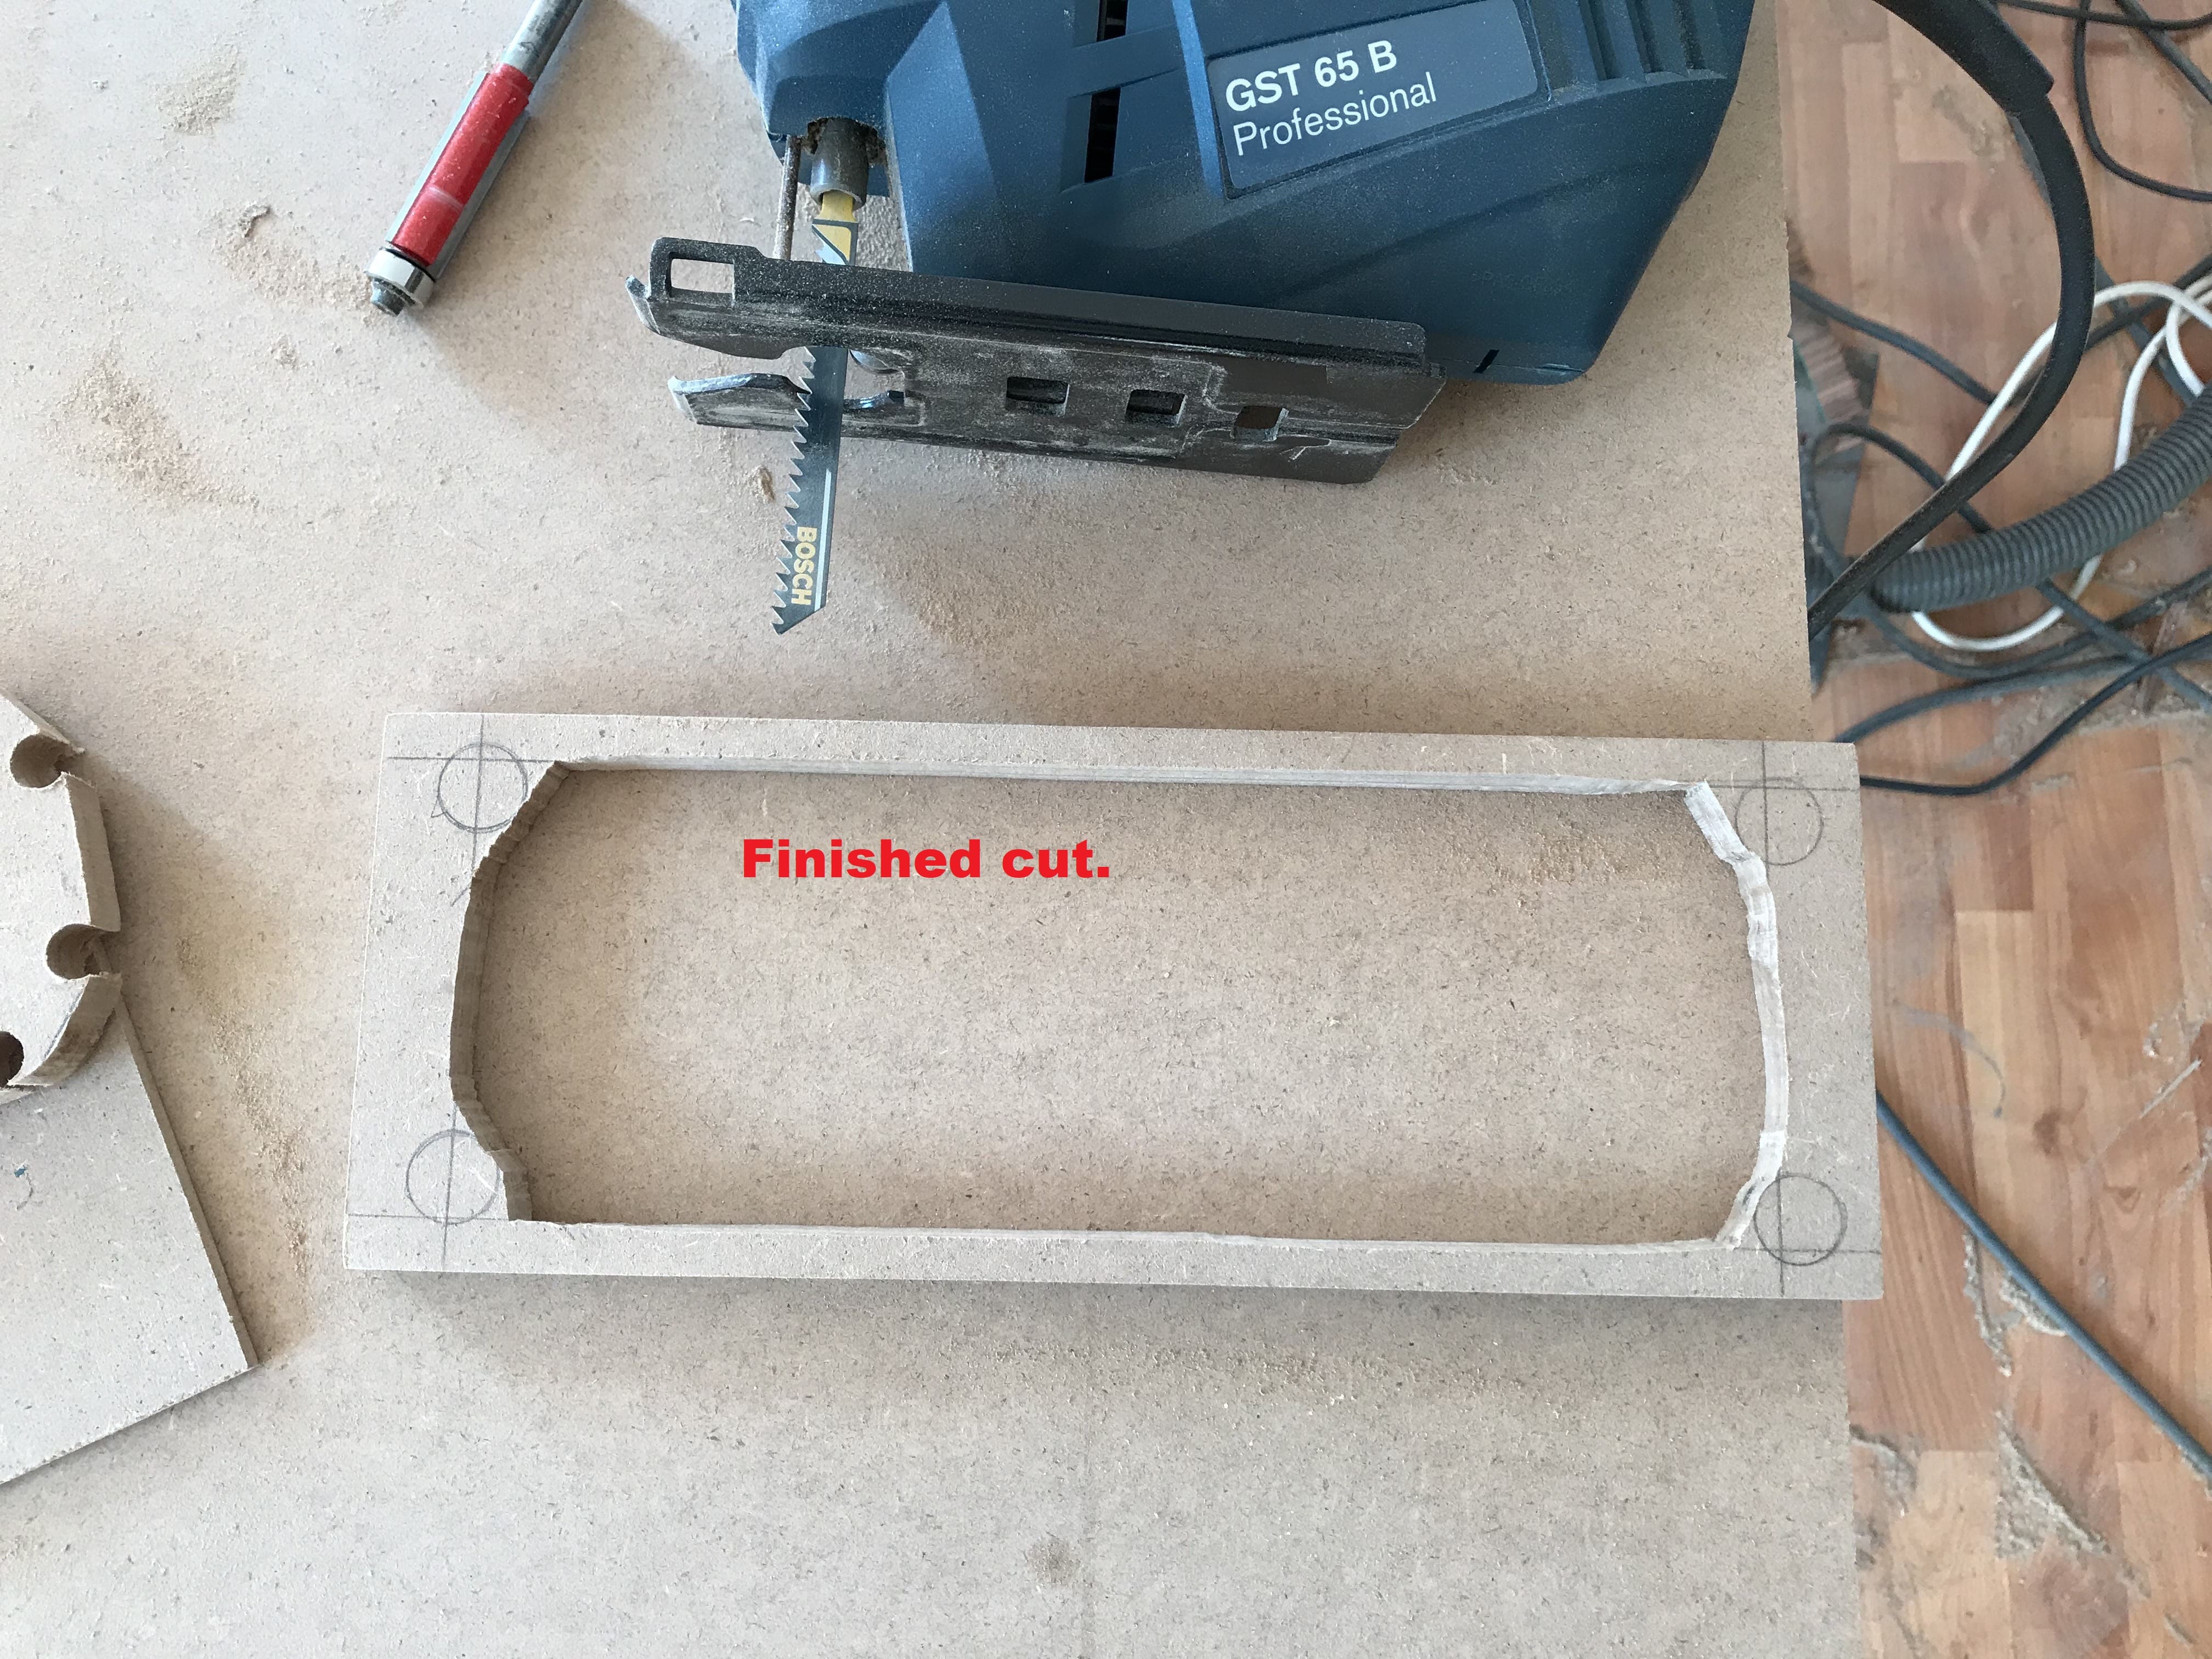

After the cut is complete, check if it fits to the box, and it doesn’t touch the speakers. If there are minor imperfections use some sanding paper and grind your way to the desired form.
How to design loudspeakers - video courses


Add fabric to speaker grill
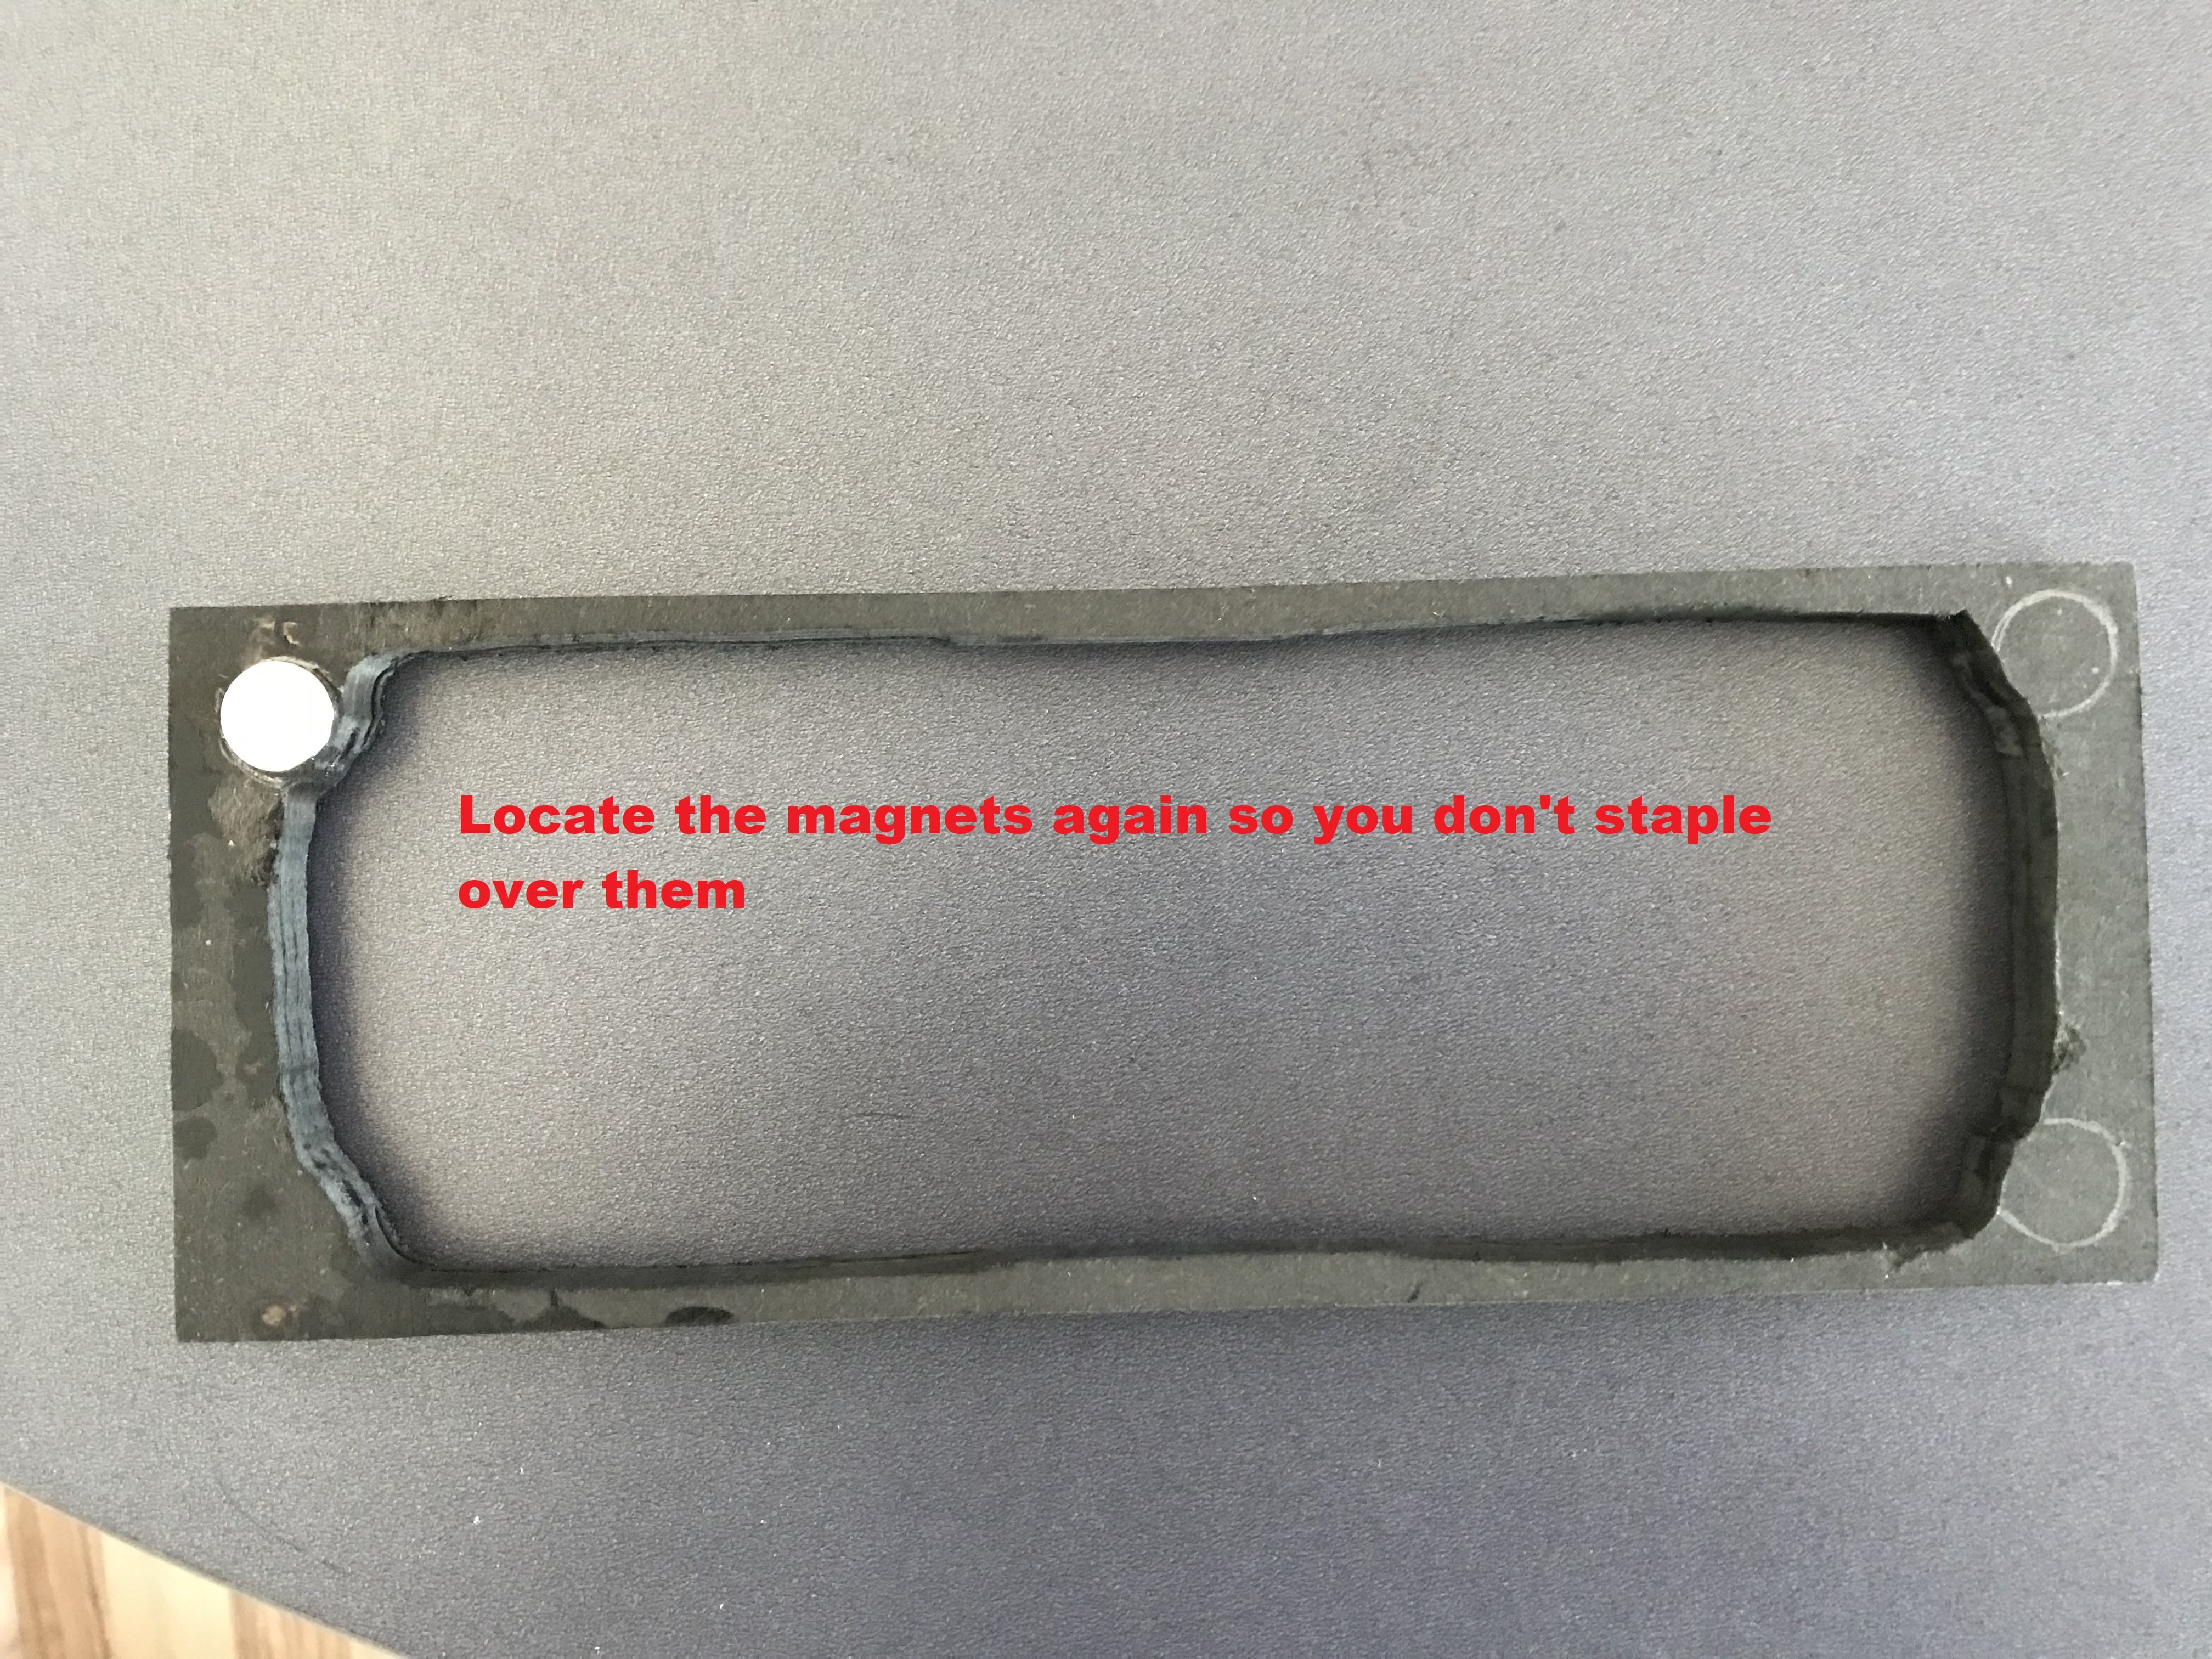
Now, we need to attach some cloth to our DIY magnetic speaker grill. First, mark the position of the magnets one more time. This is to give you an idea where they are so you don’t staple over the magnet. The staple will hit the magnet and won’t go all the way through the panel. We need to do this step one more time because I spray painted the grill in the color of the cloth used. You don’t have to do an awesome paint job. It will be covered by the fabric anyway. However, since it won’t be a thick piece of cloth, you can see through it. As a result, it’s best not to see the frame of the grill.

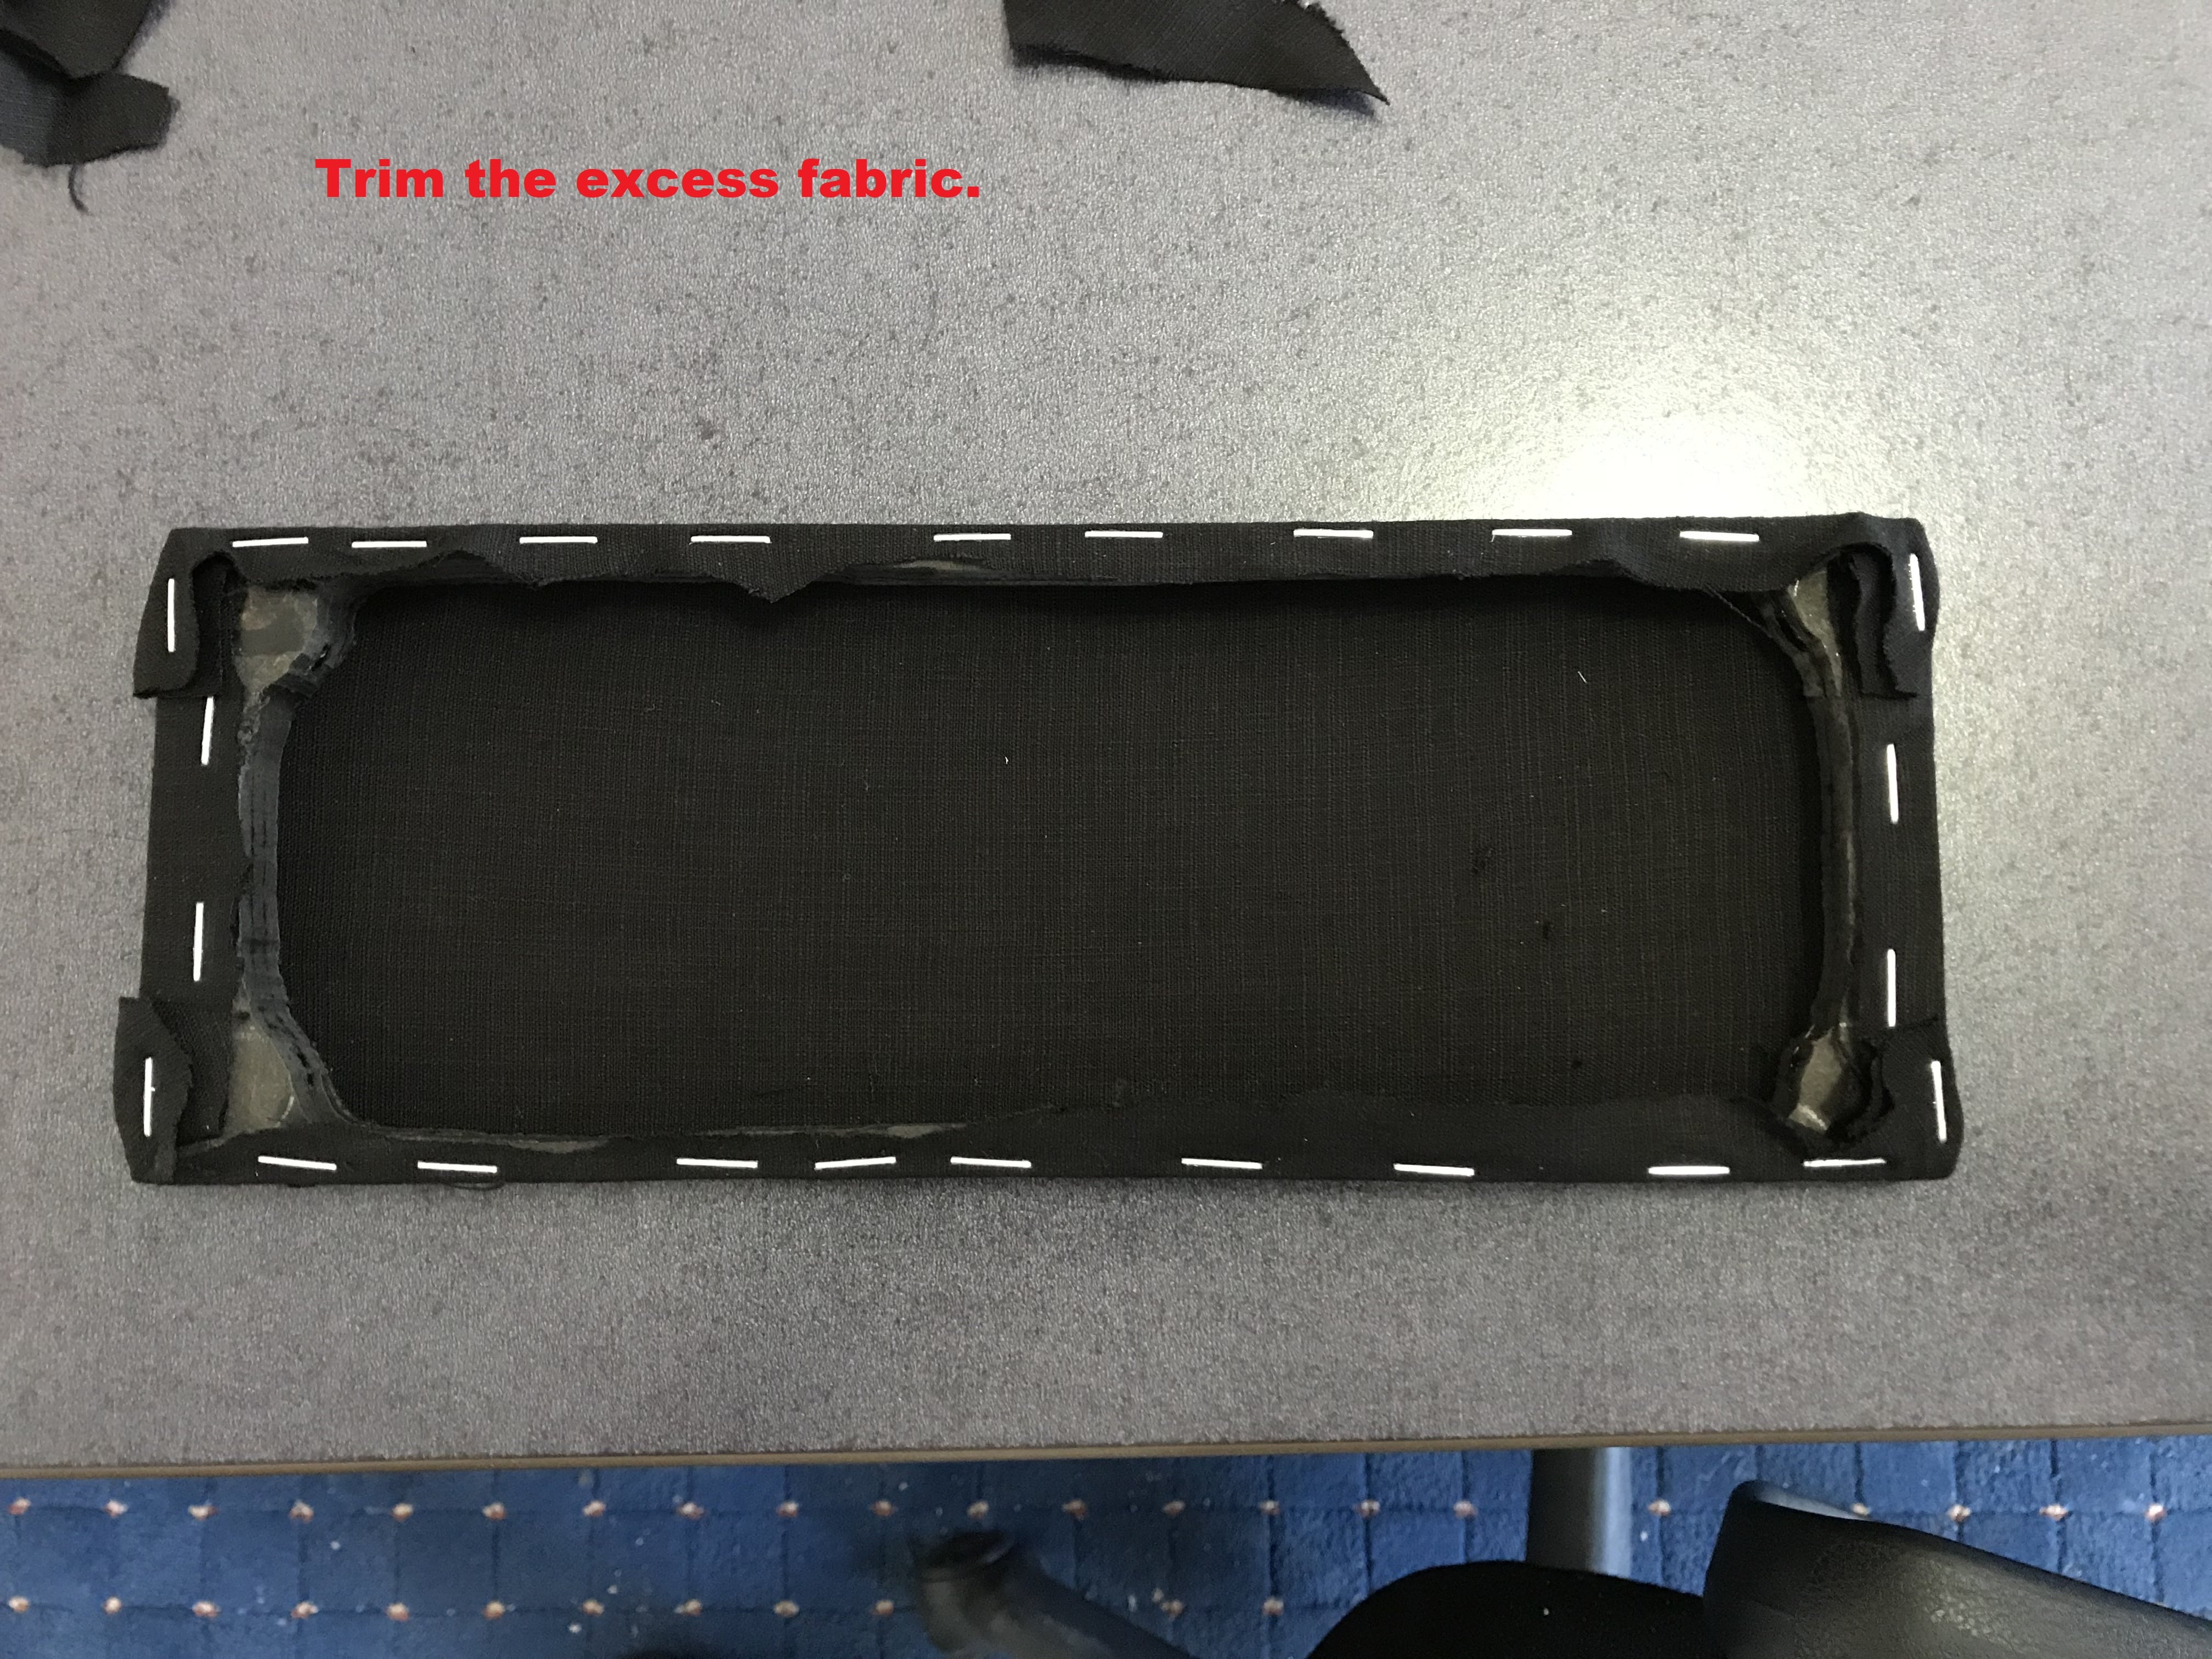
For stapling you can use a spring based staple. I had access to a pneumatic stapler, and that works way better and much easier. Don’t use a thick piece of cloth. It will give you a hard time stapling. Furthermore, it will filter high frequencies and the sound will be veiled. In conclusion, use a fabric which you can easily see through it.
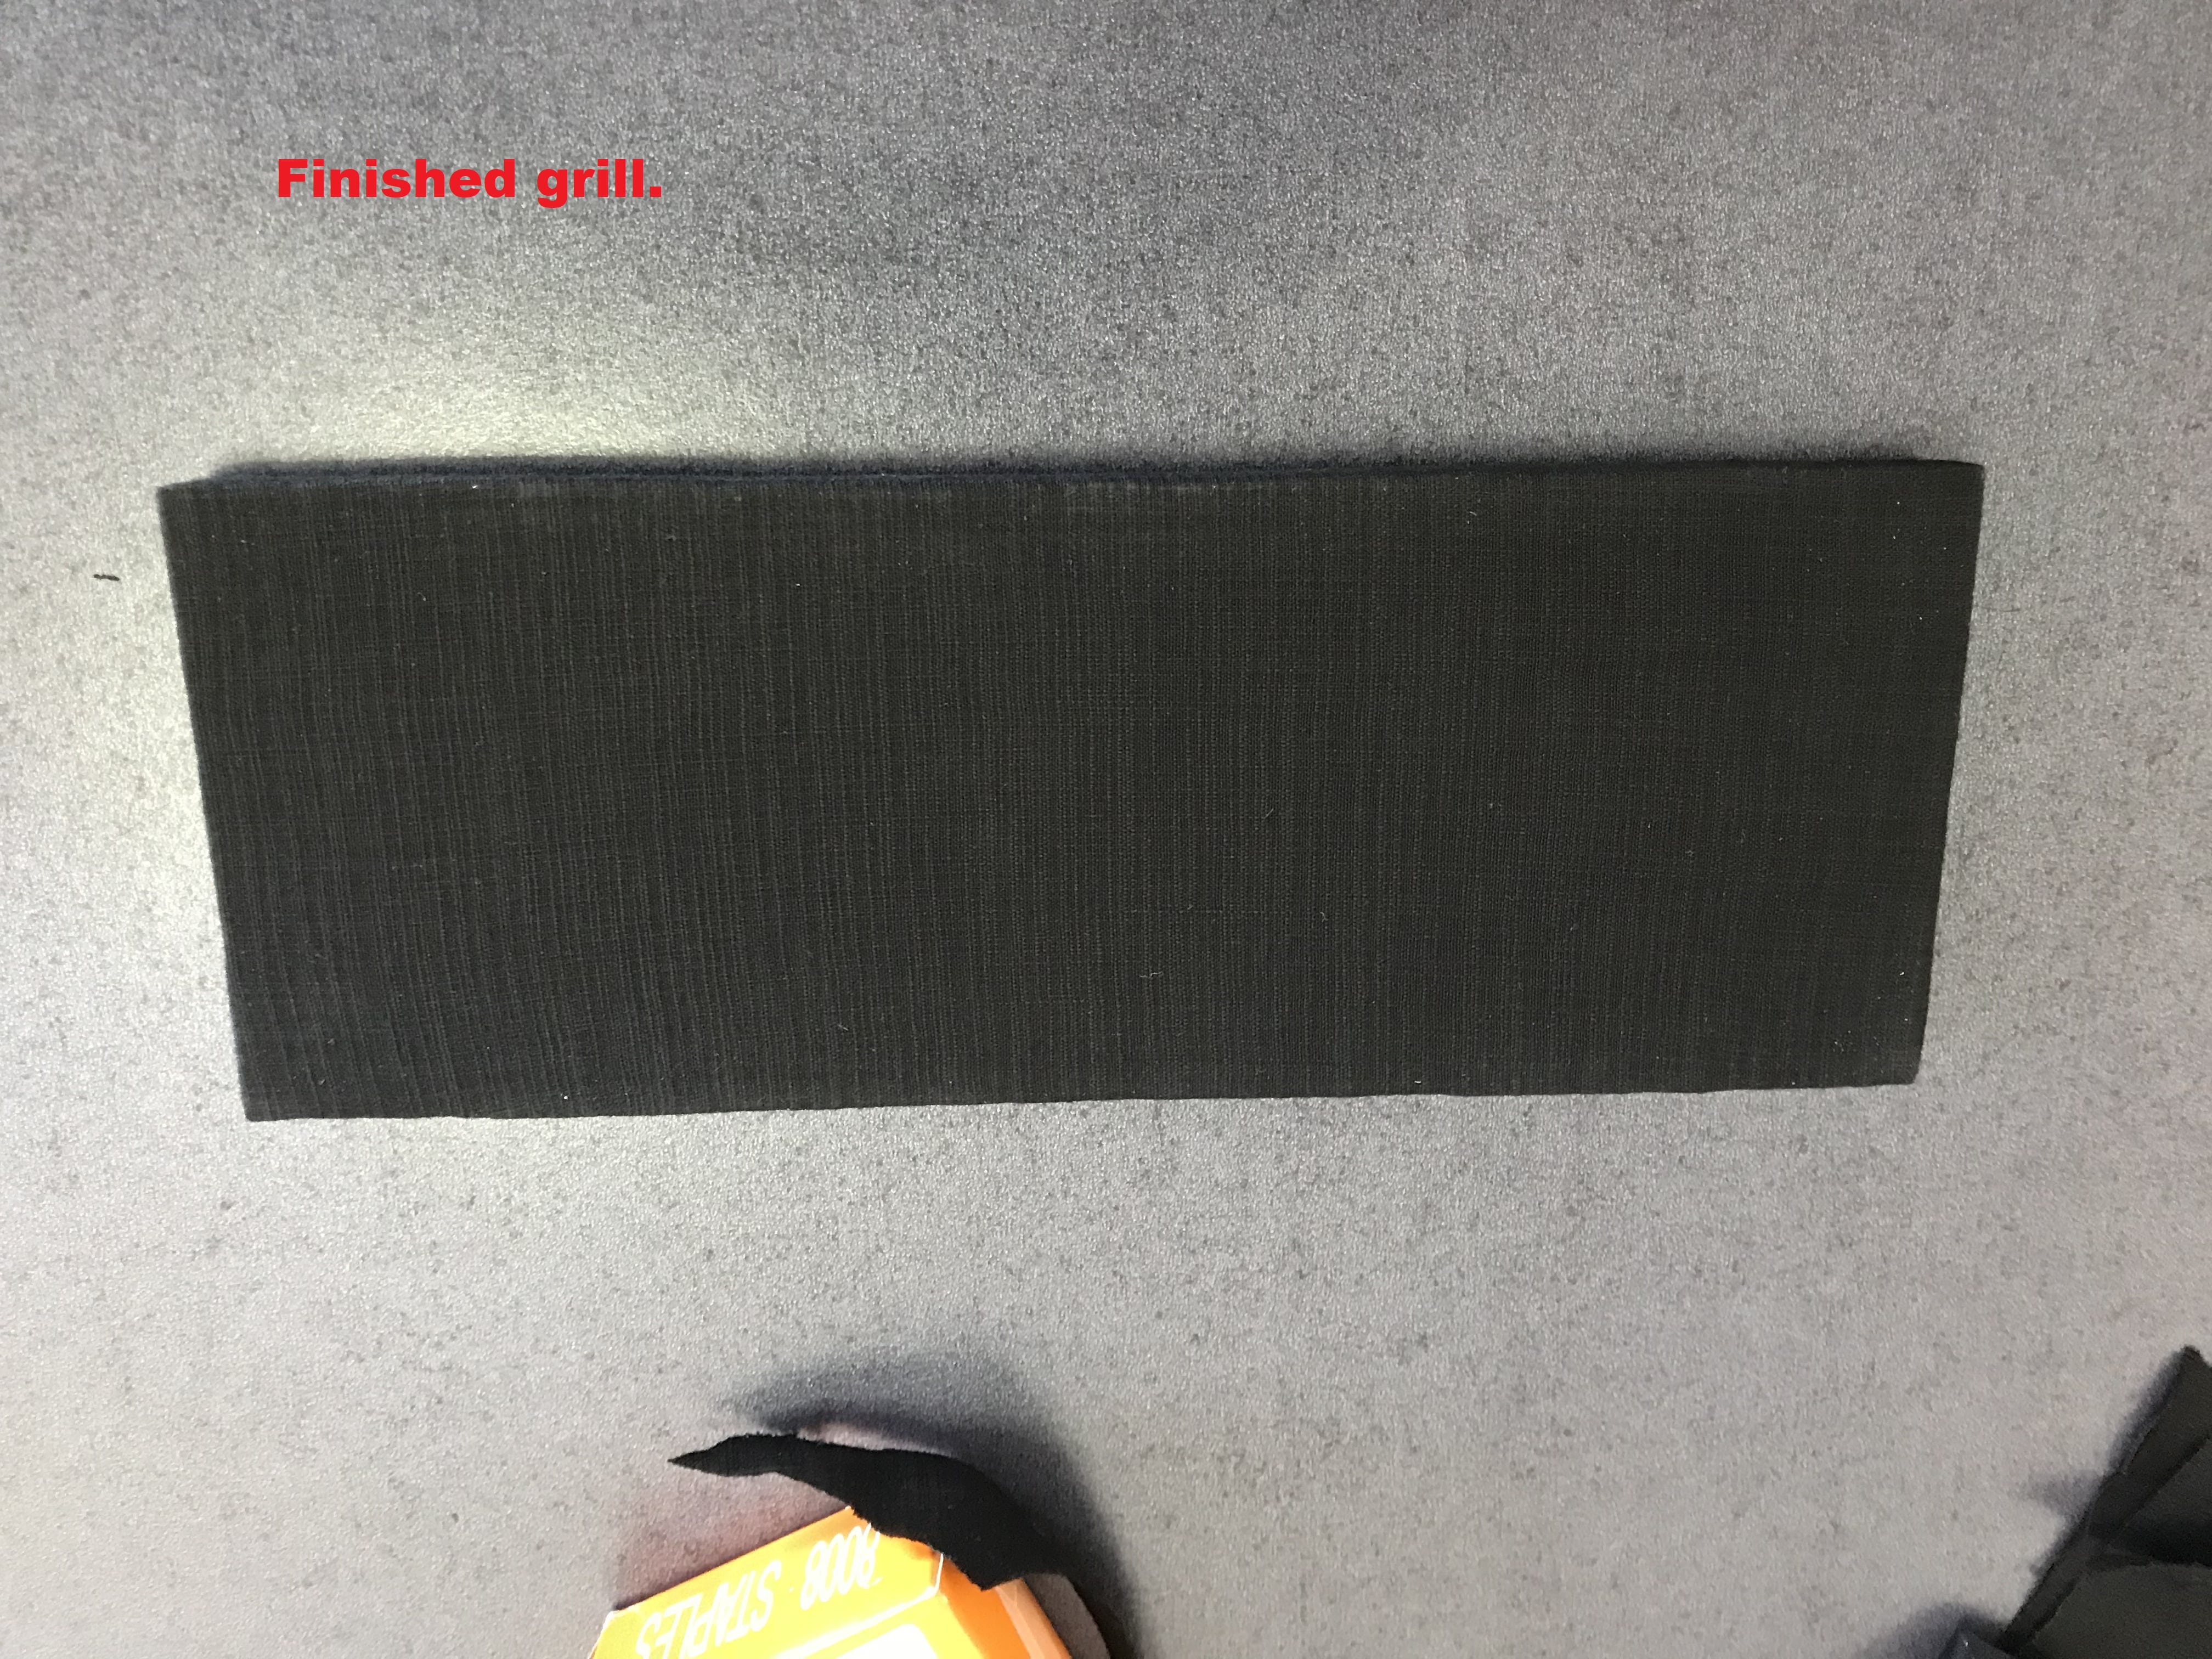

The speaker box is designed with a small lip on the edges. While the grille sticks to the box magnetically, the lip doesn’t allow the grill to move around from side to side. You can see that the grill is thicker (12 mm + fabric) than the lip (4 mm). However, it’s just enough to keep it in place, and it still looks nice. You can opt for a bigger lip so you end up with a flush look. In addition, no lip at all can be used for home speakers (not advised for portable speakers).

Conclusion
Making a DIY magnetic speaker grill seems quite easy to pull off. If you have the necessary tools to make a speaker box, you probably have the tools to make the grill as well. The advantages of a magnetic grill is that it gives a clean look when the grill is not on. Furthermore, it’s the easiest to place or remove from your speaker.


Learn loudspeaker design from scratch

2 comments
Hello,
awsome project, many thanks for the effort!
I am planing a similar upgrade for a 2-way system (tweeter, mid/bass woffer).
One silly question: There are no magnets on the spekaers side, is this correct? so the small Neo-magnets are “attracted by the chassis bigger magnets”, right ? Asking because I planned to insert also magnets in the speakers frame,
Thanks in advance for your tine,
best regards,
Adrian
I placed magnets on the box baffle as well. There is a link at the beginning of the article with the box build. If you do that, mind the polarity of the magnets, otherwise the grille will repel from the box.