
SoundEasy impedance measurement – Step by step
How to make an impedance measurement using SoundEasy?
Making a SoundEasy impedance measurement is one of the first things you should get familiar with, when getting this piece of software. Normally, to measure impedance you would need a volt-meter and a resistor to make a voltage divider rig. Also, you would need a signal generator, but that is done at software level. In a similar fashion, you would need to make a rig and a couple of probes, using some resistors, which I covered how to do here. Instead of using a volt-meter, the inputs on your sound card are just as good for this job.
Setup your SoundEasy preferences
Go ahead on open up SoundEasy and go to File -> Preferences. Here you have to setup your frequency range intervals. If it’s 20 Hz – 20 kHz or wider, you should be fine. Also, very important is to select your appropriate sound card inputs and outputs that you are going to use. I’m using a Focusrite Scarlet 2i2, (Amazon affiliate paid link) so I have selected the Line In and Line Out of the Scarlet 2i2.

I just added a snapshot of my system preferences, so you can get an idea of how it should look like. Another thing to have in mind when setting SoundEasy for the first time, is uploading a calibration file for your microphone. But, this is not of concern at the moment, since we are only doing a SoundEasy impedance measurement, and the microphone is not useful yet.
Calibration
Step 1 – Level adjustment
First of all, get your rig with the 2 probes. Then, set it up in the following position :

Both probes need to be on the amplifier side. If your sound card has phantom power, make sure it’s turned off. After that, go to SoundEasy and open EasyLab -> Digital – MLS. Here we have to make several adjustments :
- MLS length set to maximum : 262143.
- Cplx. smoothing set to None.
- Set the sample rate according to your sound card capabilities (48000 in our case).
- Output to 50%.
- Pre-emphasis to 0.
- In the IR Processing pane set the Time window to 500 ms.

You can see above a snapshot with the settings. But, before you click the Run MLS button, you have to make sure the amplifier is turned all the way down. Then you can click it and see what level your are getting. Increase the amplifier volume by 1-2 clicks, and click Run MLS again to see the new levels. Repeat until you get a satisfactory level.

Be patient and do this in very small steps, as too much volume can damage the sound card. Getting the level in the orange area is what to aim for. When you reach that level, leave the amplifier volume alone. If it seems that you need to crank the amplifier volume too much, to get an acceptable level, you can increase the output from 50% to 75% or higher if needed. The two peaks, from the Ref probe and the In probe, need to match. If they have different levels, then you did something wrong. Either your rig is faulty or the input volumes on you sound card have different levels for the left and right channel. The Scarlet 2i2 has physical volume knobs for each channel, and I set them both at maximum.
Step 2 – Probe calibration
Now that we got the levels all sorted out, we need to finish the calibration. In the calibration pane, enter the value of the resistor, 10 Ohms in our case. Keep the probes in the same position and click the calibration button. You will hear a 1 kHz test tone through your speaker.

In the “Cal=” box will appear a ratio. The number has to be between 0.5 and 1.5 for the software to even let you make a SoundEasy impedance measurement. Make sure the calibration ratio is between 0.95 and 1.05, to get accurate impedance readings. After all of this is done, the calibration is complete.
How to design loudspeakers - video courses


SoundEasy impedance measurement
After the calibration is complete, go ahead and move a probe on the speaker side of the rig. Here is the schematic, for better visualization:

Before we do the actual measurement, we need to focus on speaker placement. First of all, you need to check if the speaker features a vented pole piece. In our case, we will measure a Seas CA 18 RNX, and indeed it does feature a vented pole piece. This means we cannot take the measurement with the speaker resting on its magnet. There needs to be some clearance so the air escapes through the vent unobstructed.

I used two books to suspend the speaker and make sure the vent is not obstructed. After you have correctly positioned your speaker, go ahead and press the Run MLS button. When the process is complete, you can click the IR -> Zin button to get the impedance chart.

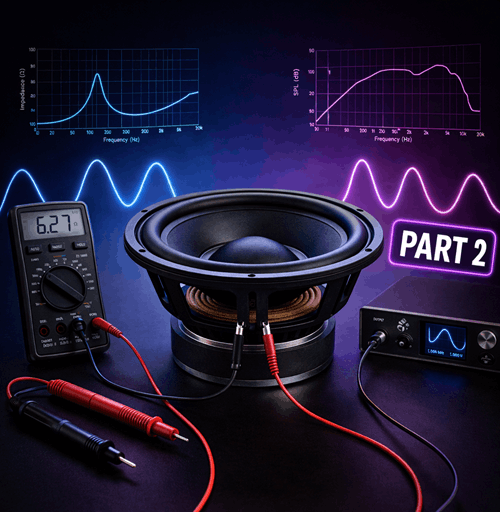
I can measure the impedance of the speaker using another device (DATS), so I can verify that it’s correct.

As you can see the charts look identical. With the peak at resonance between 30 and 40 ohms and the slight impedance bump at 800 Hz. In conclusion, we have correctly made a SoundEasy impedance measurement.
Conclusion
Getting familiar with SoundEasy is going to be a challenging task. Doing an impedance measurement is the most basic things you can do. However, this is also the base for all the things to come, like T/S parameter extraction and all sorts of audio modeling. If you get to master this piece of software, you can do amazing projects.
References
- Image source : AI generated

Learn loudspeaker design from scratch

2 comments
Great write up! How did you get the input/output in Soundeasy to show Scarlett Input and Scarlett Output? I also have a 2i2 but in Soundeasy both input/output just show up as the same Scarlett selection. It is probably more of a Scarlett 2i2 question. Do you configure the input / output in your DAW or Focusrite Control interface?
Thanks!
I actually have none of those installed. I just installed the driver and it shows up like that. Haven’t done anything extra.